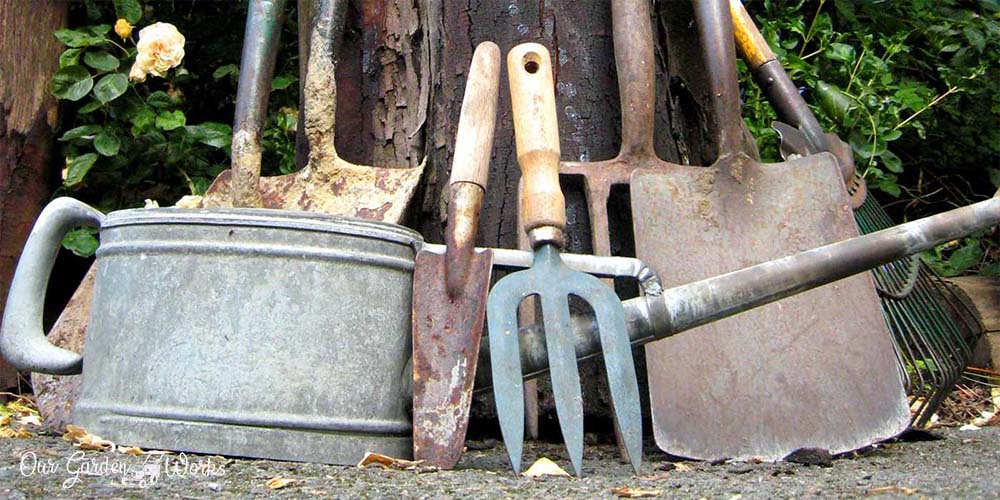
Most of us gardeners enjoy tending our plants and giving everything they need to be healthy and grow well.
We prune, cut, rake, mow, and dig with our garden tools to our heart’s content and the last thing we realize is we forget to clean and store them that leads to rust.
Rust is the enemy of metal equipment, either they’re machine parts or a simple garden tool like pruning shears.
In this post, we’ll share three methods on how to remove rust in your garden tools and prevent them from rusting again so they can last longer.
How Does Rust Occur?
It only takes oxygen and water or moisture for rust to start in your garden tools. Rust, in technical terms, is hydrated iron oxide which is a product of the oxidation reaction between iron in metal tools, water, and oxygen in the air.
Rust will take 4 to 5 days of constant exposure to elements to form in your garden tools. However, some metals are more susceptible to rust like carbon steel. You can find a variety of garden tools in different types of metal like carbon steel in stainless steel.
Pro tip: If you want to invest in high-quality garden tools, you should choose the ones that are made of stainless steel. While carbon steel is strong and good for heavy garden work, stainless steel is rust-resistant and it will take a while for rust to form in it. It might be more expensive but it’s worth investing in for the long run.
How To Remove Rust From Garden Tools
Removing the rust from your garden tools is not only an economical decision to save money but also prevents you from wounding your plants due to dull blades.
Here are some of the methods in how to remove rust from garden tools:
1. Vinegar Method
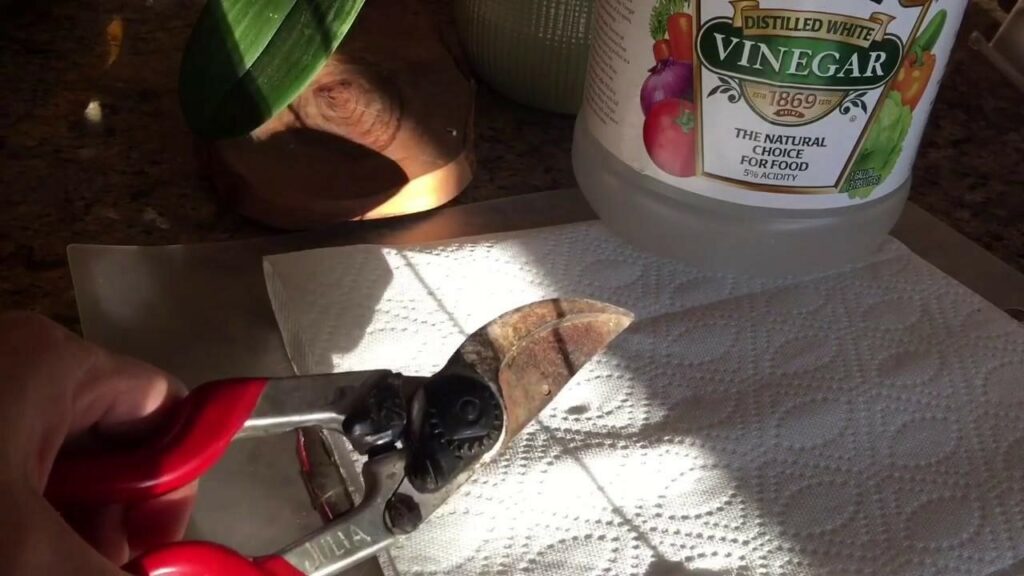
Vinegar has an acetic acid that can dissolve and loosen rust buildup. Vinegar is one of the most inexpensive ways to remove rust.
There are two ways you can use vinegar as a rust remover. First is by submerging the tools in vinegar.
Here are the materials that you’ll need:
- 1 bottle distilled white vinegar
- 1 soaking pan
- 1 plastic bag
- 1 pair of safety gloves
- 1 steel brush WD-40 or any mineral oil
- 1 rag
Here are the steps in removing rust by submerging tools in vinegar:
- Clean your garden tools with water and dry them using a rag.
- Cover the surface of the soaking pan with plastic so you can easily seal the vinegar soak and dispose the soaked solution after the rust-removal procedure.
- Pour the vinegar into the soaking pan, enough for the tools to submerge in it. The amount of vinegar depends on the size of the tools that you will clean.
- Put the garden tools into the vinegar solution and make sure all the rusty part is submerged.
- Tie the plastic to seal the smell of the vinegar and let the tools soak for 2 to 3 hours. If your garden tools are heavily rusted you need to soak them for a day or two.
- After 2 hours, check the tools and use the steel brush to remove the remaining rust on the surface of the tools. Make sure to use gloves for safety.
- Once all the rusty spots are removed, rinse the tools with clean water and wipe them dry.
- To protect your garden tools from rusting again, wipe the tools with WD-40.
- Store the garden tools in a dry place.
If you don’t want to spend too much vinegar to remove the rust in your garden tools, you can soak them with tissue paper and brushing them with baking soda.
Here are the materials you’ll need:
- 1 ply of tissue paper
- 1 spray container
- 1 bottle of white vinegar
- 1 steel brush
- 1 WD-40 or mineral oil
- 1 rag
- 4-5 tbsp. of baking soda
- 1 pair of gloves
Here’s another way of removing rust in your garden tools using vinegar:
- Pour the vinegar into a spray bottle.
- Spray the vinegar all over your garden tool.
- Cut a piece of tissue paper that’s enough to wrap around the tool you’re working on and place it on a clean table.
- Put the garden tool on top of the tissue paper, wrap it, and spray the vinegar on tissue paper to soak the tool.
- Place the soaked tools in a container and leave it for 2 to 3 hours.
- After 2-3 hours, you will see how the tissue paper absorbs the rust from the tools. Remove the tissue paper and brush the remaining rust in the tool with baking soda.
- Rinse the tools with clean water and wipe it clean.
- Apply WD-40 or any mineral oil to protect the tool from rusting again.
- Store the tools in a dry place.
2. Lemon and Salt Method

The citric acid in lemons can help dissolve and loosen the rust buildup in your garden tools.
Salt, on the other hand, serves as a mild abrasive to rub off the stubborn rust. The lemon and salt combination is another natural rust-removal solution that you can get out of your kitchen.
Here are the materials you’ll need:
- 1 small bucket or soaking tray
- 3 medium-sized lemons or lime
- 1 pair of gloves
- 1 steel brush
- 1 WD-40 or mineral oil
- 4 tbsp. of salt
Here’s how you can remove rust in your garden tools using the salt and lemon solution:
- Squeeze the lemons and extract its juice.
- Add 4 tbsp. Of coarse or fine salt and mix the solution.
- Put your garden tools in a bucket and pour the lemon and salt solution. Make sure that the tools are totally submerged in the solution.
- Leave the tools soaked for 4 to 8 hours. Turn the tools on the other side every 30 minutes.
- After 8 hours, use the steel brush to remove the remaining rust on the tools.
- Rinse the tools with clean water and wipe them with a rag.
- Apply WD-40 or any mineral oil to protect the tools from rusting again.
Pro tip: Avoid using this solution for cleaning machine parts since the acid can make the tools brittle.
3. Coke or Soda Method

Coke, aside from being a drink, is used as a home cleaning solution and remove rust. It contains phosphoric acid that can dissolve the rust in garden tools( and yes we’re talking about the same cola that we drink).
Here are the materials that you’ll need:
- 1 bottle of coke (size depends on the number of gardening tools)
- 1 soaking tray or small bucket
- 1 steel brush or steel wool
- 1 rag
- 1 WD-40 or any mineral oil
Here’s how you can remove rust in your garden tools using coke:
- Pour the coke in a bucket and dip the garden tools.
- Cover the bucket and let the tools soak for 24 hours.
- Check the tools the next morning and brush the remaining rust on the tools.
- Rinse the tools with water and wipe them dry with a rag.
- Coat the tools with WD-40 or any mineral to protect them from rust.
4. Rust Remover Method
If you want to make sure you’re removing rust with the most appropriate solution, a rust-remover solution is always handy.
Recommended Products:
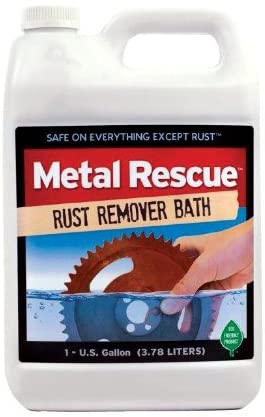
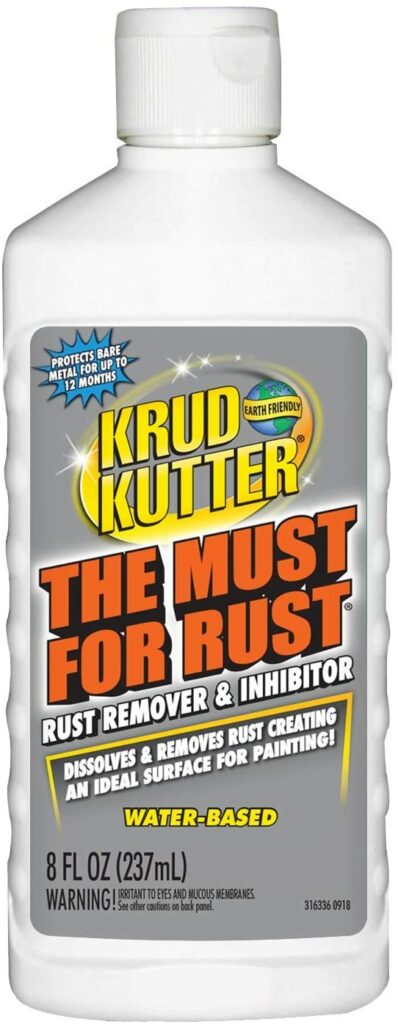
Rust removers like Metal Rescue Rust Remover and Krud Kutter will make the job easy for you. Here’s how:
- Put the rust remover in a bucket or any plastic container.
- Put the tools inside the bucket and make sure they are submerged properly.
- Wait for about 30 minutes and check the tools.
- Wear a pair of gloves and remove the garden tools from the rust remover solution.
- Rinse the tools with water and wipe them with a clean rag.
- Protect the garden tools by wiping them with WD-40.
Recommended Products:
Pro tip: If you’re not a fan of scrubbing things, you can attach wire brush attachments to your drill or grinder.
How To Prevent Your Garden Tools From Rusting
Now that you know how to remove rust from your garden tools, it’s natural to wish your garden tools remain in their pristine condition and not rust again. But before we go over the preventive steps, it’s important to identify what are the major causes of rust:
Major causes of rust in garden tools and how to avoid them:
- Moisture from the soil: Trowels and shovels that are used for digging are always exposed to moisture from the soil. That’s why they’re the most prone to rusting. Make sure to wash them after use and don’t let them soak in the mud outside.
- Elements like rain. dew and snow: You may think that you’ve cleaned your garden tools and set it aside in a dry place outside is enough.
- Exposure to setting agents: Make sure to not leave your gardening tools like shovels with cement residue to prevent it from rusting.
- No maintenance: Metals, in general, should be lubricated and oiled after being exposed to moisture and other chemicals. Ideally, you should clean, lubricate, and maintain all the parts of your gardening tools once or twice a year so they can last longer.
- No proper storage: Without proper tool storage, your tools will still be exposed to a harsh environment that damages not only the metal parts but also the wooden handles of your tools. The best way to store your garden tools is to hang them inside a tool shed where they’re well ventilated and kept away from dew, rain, and snow.
You might like: Tips on How To Remove Crayon From Wood
9 Tips in Removing Rust in Garden Tools and Best Practices To Keep Them Rust-Free
Rust is not entirely toxic but the tetanus-causing bacteria might come with it can cause serious illnesses even death. Aside from keeping your garden tools in pristine condition, you’re also keeping yourself safe from rust-related health risks.
So, here are some tips in handling rust residue and some gardener’s best practices with garden tools:
- Use gloves when handling acids and rusty tools. Open wounds exposed to rust can allow the Tetanus-causing bacteria to enter your bloodstream and affect your nervous system. That’s the last thing you’ll want to happen right?
- Don’t forget that there are three steps when we say clean your garden tools. Washing, wiping, and oiling are powerful steps that will keep your tools in good shape for a long time. Who knows you may even pass them to your grandchildren someday!
- Pruning shears are prone to accumulate sap or any sticky residue in their blades. Some plant diseases or fungus may come along with sap and if you don’t remove them, any soil-borne plant disease might spread to your other plants. You can remove the sap by wiping the blades with solvents like kerosene.
- To preserve the condition of garden tools, you may store them in a bucket with a mixture of sand and mineral oil The sand will be a mild abrasive that will keep your tools sharp and the oil will keep them protected from moisture.
- Use safety goggles when using power tools in brushing off the rust on your garden tools.
- When maintaining tools, make sure to sharpen them too. You can use a whetstone and water to do the job. Glide the whetstone on the blades in a direction away from your body. Then test it out to know if it’s sharp enough for you.
- To make sure that your garden tools are totally dry, you can heat them for a few seconds before applying WD-40 or any mineral oil. Just makes sure you don’t burn your hands on the hot steel in the process.
- You can disassemble your pruning shears before soaking so all of the rust buildups in between the joints will be brushed properly.
- Aside from oil, you may also coat your gardening tools with paint and liquid plastic.
You might like: What Are The Best Fungicides For Tomatoes?
In Conclusion
We hope that this post helped you remove the stubborn rust in your garden tools. Many gardeners who don’t know how to deal with rust gave up on the rusty ones and buy another set which a big waste of money.
If you know someone who has rust problems with their tool, show them how you saved your garden tools by sharing this post.
Also, don’t forget to share your experience with us in the comments below.
