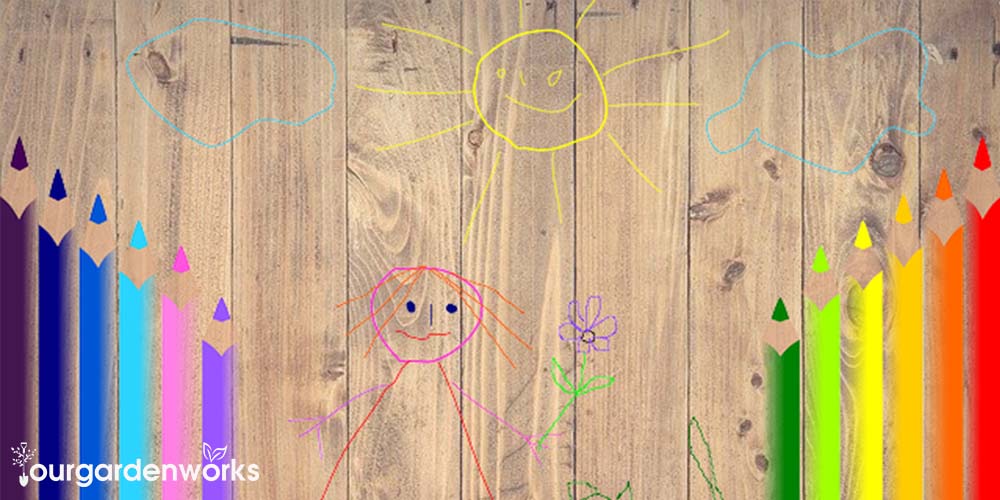
Having children and starting a new family is one of the biggest milestones we can have in our lives. However, it also comes with big responsibilities and unexpected transitions in your life like turning a tidy home into a house full of toys and murals drawn with crayons.
If you’re a parent, part of the challenge is how to remove the crayon murals on your wooden furniture, walls, and floor.
In this article, we’ve listed all the possible ways you can remove crayon off the wood while preserving its pristine condition.
Things You Should Know About Wood
Before we proceed in removing the crayon drawings, it’s important to know what kind of wood you have. Certain chemicals react differently to wood finishings and can damage your wooden furniture, floor, or walls.
Different Kinds of Wood
Crayons are coloring materials consists of pigment and wax. Just like candles, it penetrates surfaces that can absorb it like fabrics and even bare wood. What type of wood did your kid use as their canvass for her crayons?
See the different kinds of woods below and check which one is yours:
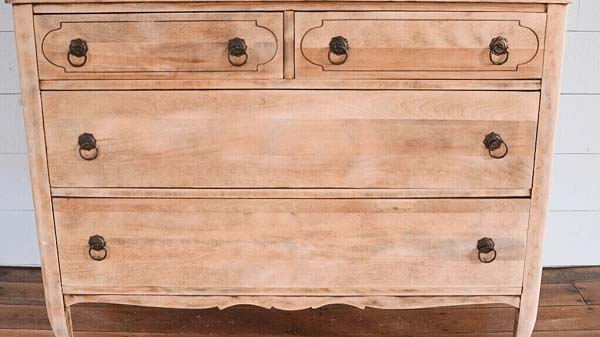
1. Raw solid wood is the type of wood that didn’t undergo any chemical processing and heavier than the other types of wood materials. It is the state where the wood is in its purest form – unpainted and unstained.
Since bare wood has no protection coated over it, it can absorb the crayon and seep deeper into the wood. Bare wooden stuff at home is usually the unfinished wooden furniture, decoration, or even an art piece.
If you have kids at home, it’s better to cover them or apply a finishing coat to protect the wood from your kid’s crafty ideas and wear and tear.
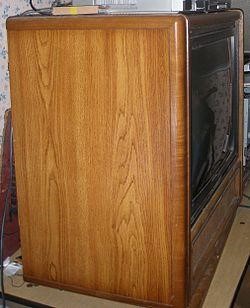
2. Veneer wood is a thinly cut hardwood that is ⅛ of an inch in size. It is commonly used on home fixtures with flat surfaces like wooden doors, cabinets, parquet floors, and top and back panels of furniture.
Veneers play an important part in protecting the solid wood from expanding when the temperature changes. Crayons drawn on veneers are easier to remove than bare wood since the finish of the wood prevents the wax from seeping into the fibers of raw wood.
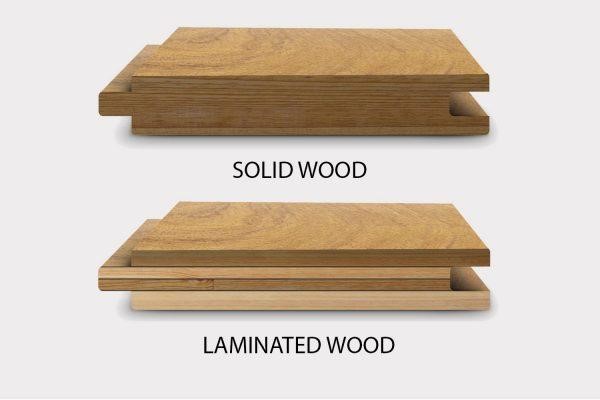
3. Laminated wood is consists of synthetic materials with thin pieces of wood. Since it’s a mixture of different materials, it’s not entirely considered real wood.
It is commonly used in low-cost woodworks but still as durable as real wood. Laminated wood has a glossy finish and one of the easiest to clean but can be damaged if cleaned with a brush and other rough cleaning tools.
How To Remove Crayons From Wood Using Natural Cleaning Agents?
Now that you know what type of wood you’re dealing with, time to say goodbye to your kid’s masterpiece. Many parents have tried different ways to remove crayons on wood using what’s available at home. These includes:
1. Warm Water and Baking Soda
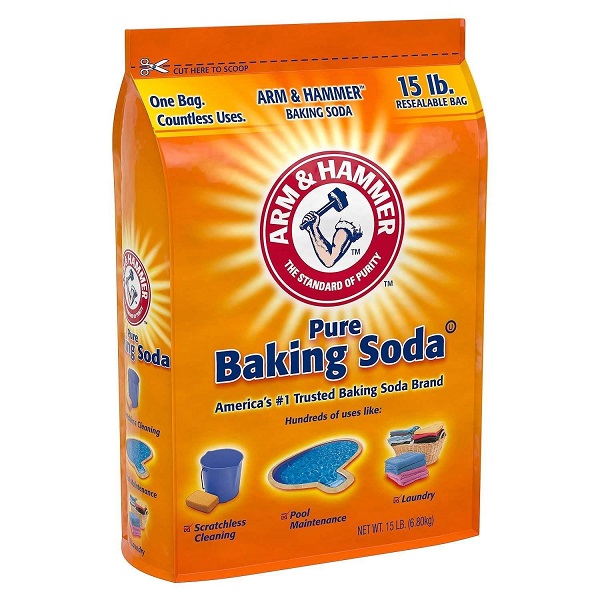
Baking soda is known as one of the best cleaning agents for stains, molds, and mildew at home. Along with water, you can remove crayons off your wooden furniture with the following steps:
- Dip the rag in warm water and put the dry baking soda on the area.
- Gently rub in a circular motion.
- It may take more than a few strokes before crayons come off the wood so a little bit of patience works a long way.
- Once all the crayons are removed from the wood, wipe the surface with clean water to avoid damaging the finishing coat of the wood.
Reminder: Warm water and baking soda work best on smooth wooden surfaces like laminated wood. If your kids wrote on raw wood you may skip this step since crayons absorbed on wood require a different approach.
2. Lemon Oil and Olive oil
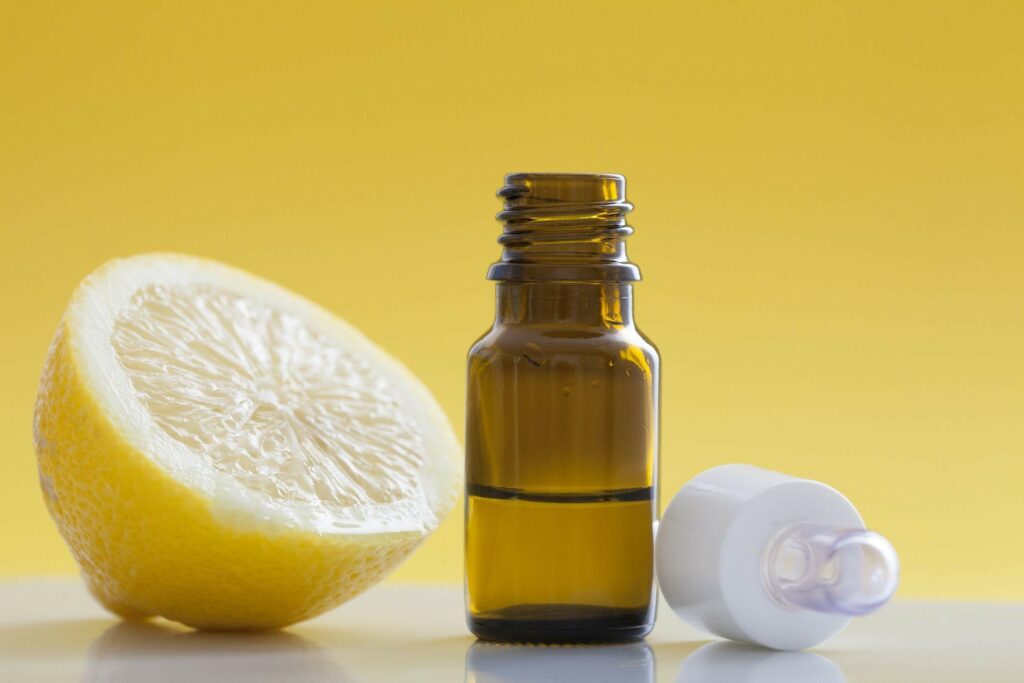
The acids from lemon and olives help break down the wax in crayons and lubricate the area so it can come off easily. Start by:
- Applying lemon essential oil on a soft cloth.
- Rub the part with crayon until it comes off
- Stubborn old crayon marks may need a drop of olive oil if lemon oil can’t remove it alone.
3. Vinegar and Warm Water
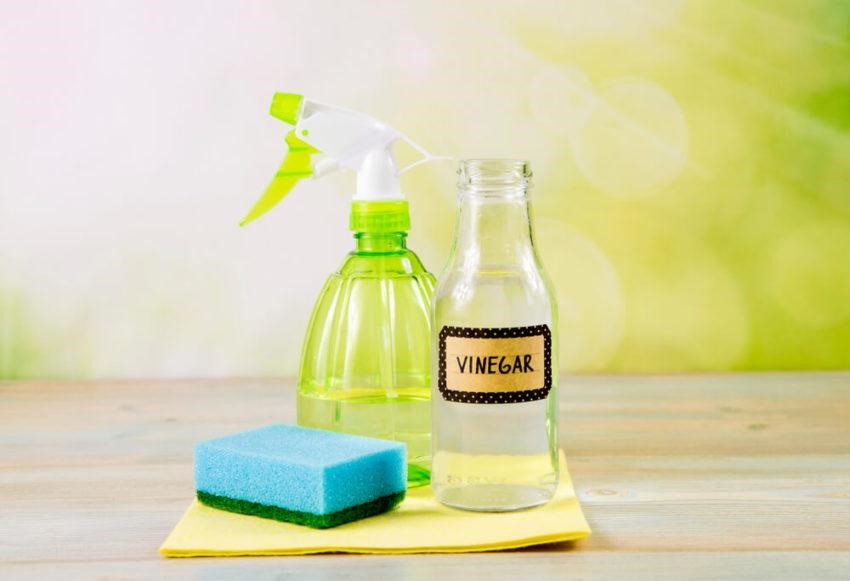
Another multi-purpose ingredient in the kitchen is vinegar. Vinegar has acetic acid that breaks down wax and pigment on various surfaces at home. However, since vinegar is a strong cleaning agent it may damage the finishing coat of the wood.
Make sure to apply it on a small patch before using it to remove crayons off the wood. If there’s no chemical reaction on the patch, you can go ahead and use it. Use vinegar with the following steps:
- Damp a cloth with vinegar or you can also mix vinegar with warm water.
- Remove the crayons by rubbing the cloth on the surface.
- It may take a while but this works by just adding a little bit of pressure and consistent rubbing.
4. Mayonnaise or Peanut Butter
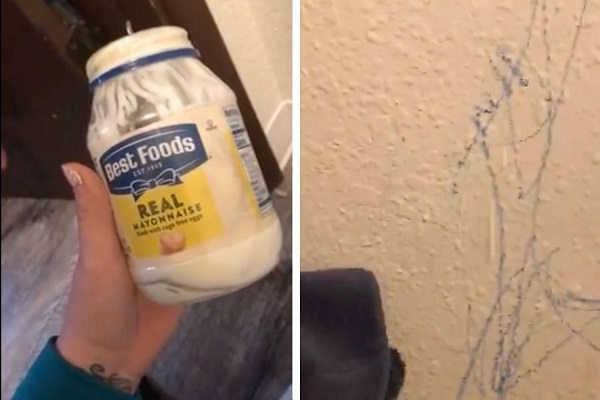
It can be weird but mayonnaise and peanut butter are rich in fatty acids that help the wax from crayons be wiped off. This is is a suitable option if the crayons are only in a small area of wood. The procedure is as follows:
- Put the mayonnaise or peanut butter on the area.
- Leave it for 5 to 10 minutes.
- Wipe it with a clean rag.
If those natural ingredients can’t remove the stubborn old crayon marks, you can use Magic Eraser. Since these kinds of foams are made for stains, it can be a little abrasive to the wood surface. So, you might want to make sure to rub it gently.
Other options include a pencil’s eraser or the artist’s gum eraser. Before you buy any chemical-based cleaner, give these erasers a try and see if it works.
How To Remove Crayons From Wood Using Chemical-Based Cleaning Agents?
Sometimes natural ingredients don’t do the trick and may require the help of synthetic cleaning agents to work its wonders. However, before you proceed, you must understand that since you’re going to deal with chemicals, you may need to do a patch test first so it won’t ruin the wood.
How To Do a Patch Test?
- Damp a small rag on the chemical and wipe it on a small area of the furniture.
- Observe any chemical reactions and leave it for 10 minutes.
- If there are any discoloration or changes in the texture on the surface of the wood, you should find another alternative solution.
- If nothing happens, you can proceed with using the cleaning agent to remove the crayons.
1. Non-Gel Toothpaste
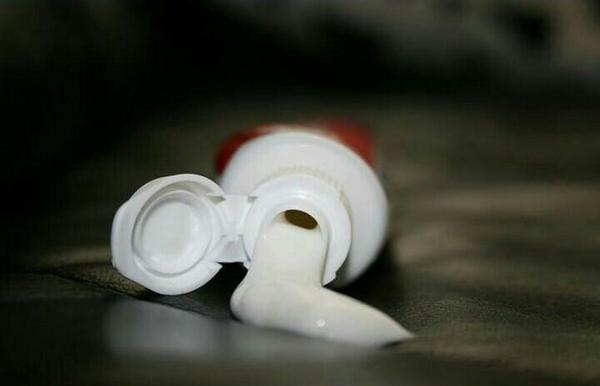
The fluoride components in toothpaste may remove the crayons off the wood.
- Apply the toothpaste to the area.
- Scrub it with a soft brush until the crayon comes off.
- Wipe off the residue with a clean rag and water.
2. Oil-Based Car Lubricant (WD-40)

WD-40 is long known lubricant to dissolve rust and corrosion and help budge rusty bolts and nuts. However, it can also serve a purpose as a cleaning agent for stubborn crayon marks.
The steps are as follows:
- Make sure to do a patch test first.
- Apply the WD-40 to the affected area and don’t add too much to avoid spreading the chemical all over the wood.
- Let it do its work and leave it for 10 minutes.
- Wipe the residue in the affected area once done.
3. Window Cleaner (Windex)
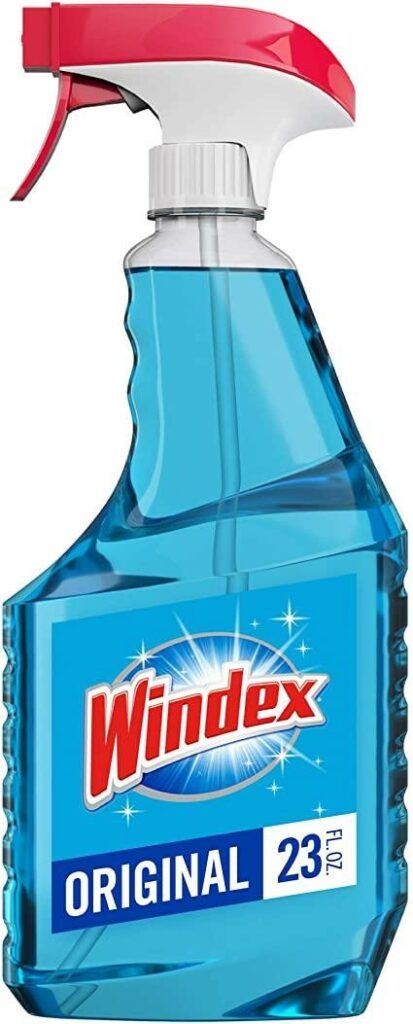
Another cleaning agent that is also used in removing crayons is a window cleaner like Windex. Check the procedure below:
- Do a patch test and when there’s no chemical reaction observed, continue using the product.
- Since this kind of solution is placed in a spray bottle, you can apply it directly to the crayon markings.
- Leave it for 1 to 2 minutes and wipe the area with a clean rag. Rub the crayon marking if it was not removed easily.
- Remove any residue with a clean rag.
4. Adhesive Remover (Goo Goo Gone)

If you’re a busy parent, you may not have enough time to rub things off your home fixtures. Adhesive remover along with the chemicals above can be a quick solution to your crayon problem. The steps are as follows
- Do a patch test to make sure Goo Goo Gone is safe to use on wood surfaces.
- Once proven safe, spray the adhesive remover on the area and start rubbing the crayon off.
- When all the crayon residue is removed, wipe off the adhesive remover on the wood.
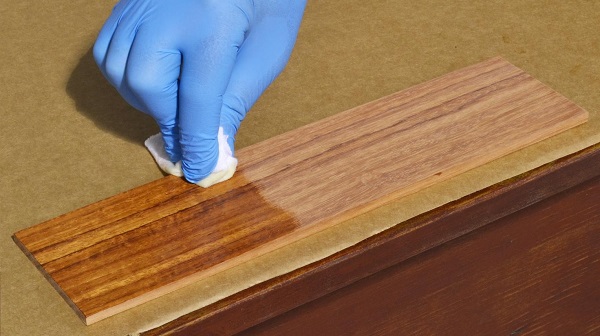
5. Lacquer Thinner, Acetone, Polish Remover, or Mineral Spirits
If you’re still unlucky with all the chemicals and natural cleaning agents above, you may opt for a riskier option. Lacquer thinner and mineral spirits are solvents that can remove the finishing coat of the wood.
So before we proceed with this option, let’s discuss wood finishes and why it matters.
Different Kinds of Wood Finishes
Wood finishes are classified into two categories. This is the reason why you may notice that some woodworks have a matte finish and others are glossy.
- Penetrating finishes are the types of chemicals used that are absorbed by the wood and dries inside. It allows the wood to have a matte finish but still protects it from wear and tear. Examples include:
– Linseed oil (oldest wood finishing style)
– Danish oil
– Tung oil (boosts the natural appearance of wood) - Surface finishes are the chemicals applied to wood to protect the outer layer from water and moisture. It comes with oil-based and water-based options. Examples include Shellac, Varnish, Polyurethane finish.
The solvent, thinner, and mineral spirit option is not recommended if you’re not familiar with wood finishes and how to restore them.
If you have prior knowledge about woodworks, you should also consider the risks like wood discoloration and uneven wood finishing. If you want to continue, the steps are as follows:
- Identify the finishing used on the wood and prepare materials for restoration.
- Use gloves and dip the cloth or brush in the chemical.
- Gently apply it to the affected area.
- Both crayons and wood finish will be removed as you wipe the chemical off.
- Let it dry and see the damage done by the chemical.
- Prepare the finishing materials and apply it to the affected area as the first coating.
- Let it dry and decide if one coating of finishing oil or varnish has restored the original look of the wood. If you’re not satisfied, you may add another coating.
Tips on Removing Crayons From Wood While Keeping The Surfaces in Good Condition
Sometimes in our attempt to keep our home clean and tidy, we end up ruining our furniture, floor, and walls. So, here are some tips to make your life easier in cleaning our home, especially with kids around.
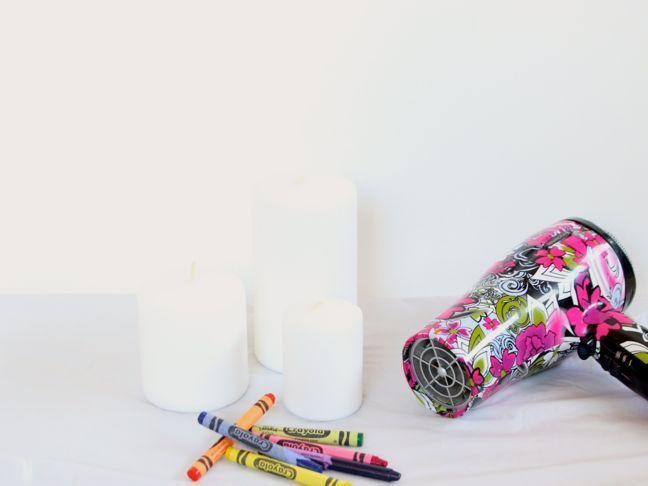
- Use a hairdryer to soften the crayon on wood before using any cleaning agent.
- Don’t use sandpaper or any abrasives on raw wood to avoid smearing it all over the area. The friction causes heat and melts the crayons making it spread even more.
- Scrape off excess crayons with plastic cards without sharp edges to avoid deep scratches on the wood finish.
- If you used a chemical solution to remove the crayon, you need to rewax the area to restore the protective layer lost and preserve the wood to increase its lifespan.
Final Thoughts
Young kids expressing themselves will only last for a while. Now that you’ve learned how to remove crayons on wood, let them draw around because it won’t be long till they stop using crayons. We hope that you learned a lot from our cleaning tips as you enjoy parenthood.
If you find this article interesting, share this post with your friends and let us know in the comments what cleaning approach worked for you.