

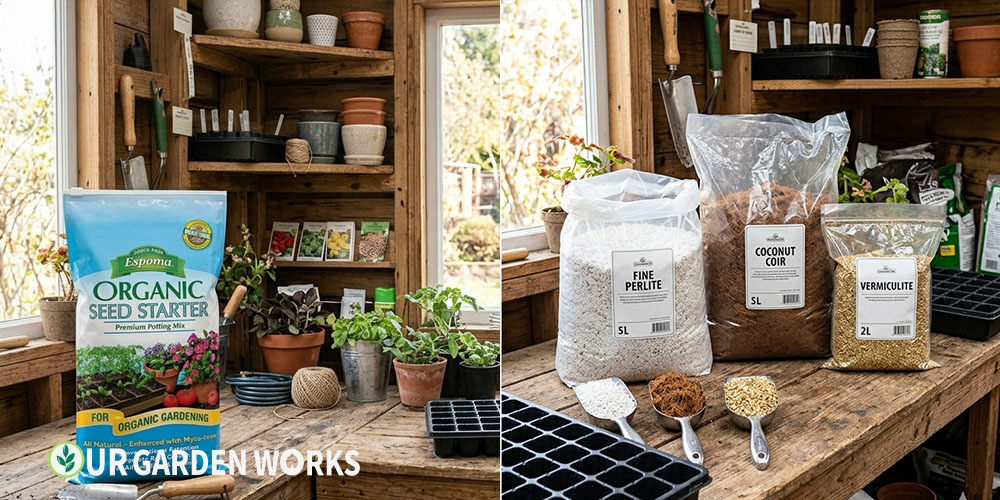
The bag says “seed starting mix.” The other bag also says “seed starting mix.” They look nearly identical, cost different amounts, and produce noticeably different results. And the bag next to those says “potting mix,” which costs less and claims to work for everything — but it won’t give you the germination rates the other two will.
The difference matters more than most gardeners realize. The growing medium you sow into affects germination rate, damping off susceptibility, root development speed, and how well seedlings establish after transplanting.
Get it right and you spend less money replacing failed starts. Get it wrong and you wonder why your seeds aren’t germinating.
In this guide we’ll cover what seed starting mix actually needs to do, which store-bought brands genuinely work, what’s worth skipping, and how to mix your own for about half the cost of commercial options — with the same or better results.
What’s the Best Seed Starting Mix: The best seed starting mixes are fine-textured, sterile, and low or zero nutrient — seeds carry their own food for the first 2–3 weeks. For store-bought: Espoma Organic Seed Starter and Pro-Mix Premium Seed Starting Mix are consistently reliable. DIY: 2 parts coir + 1 part perlite + 1 part fine vermiculite. Never use potting mix or garden soil to start seeds.
What Seed Starting Mix Actually Needs to Do
Understanding what a seed starting mix is designed for makes the choice much clearer. A germinating seed needs:
- Fine, consistent texture — small seeds need to make direct contact with the growing medium. Coarse chunks leave air gaps where seeds sit without moisture contact and fail to germinate.
- Good moisture retention with fast drainage — the medium needs to stay consistently moist (not wet). Waterlogged conditions cause damping off; too-fast drainage causes the inconsistent moisture that interrupts germination in progress.
- Sterility — no weed seeds, no disease pathogens. Damping off (the fungal disease that kills seedlings at the soil line) is introduced through non-sterile growing media. This is why potting mix — which contains composted material that may carry pathogens — is a riskier choice for germination.
- Low or no nutrients — seeds contain all the food they need for the first 2–3 weeks of life. Adding nutrients before roots have developed can actually inhibit germination in some seeds. You’ll add liquid fertilizer at quarter strength once true leaves appear — not before.
- Light weight — heavy, dense media compresses in small cells under watering, restricting the tiny roots that seedlings develop in their first weeks.
Notice what’s NOT on this list: nutrients, organic matter, compost, bark fines. These are things potting mix is full of — and they’re not what a germinating seed needs.
This is why seed starting mix and potting mix aren’t interchangeable, even though they look similar in a bag. For the full breakdown of why they differ and when to use each, see our seed starting mix vs potting mix guide.
Store-Bought Seed Starting Mix — What Works
Best Overall: Espoma Organic Seed Starter
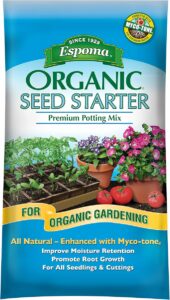
Consistently our top recommendation for home gardeners. Espoma’s seed starter uses a fine-textured blend of sphagnum peat, perlite, and limestone (pH buffer) that produces excellent germination rates across a wide range of crops. It’s OMRI-certified organic, widely available, and the 16-quart bag is enough for 2–3 full-sized 72-cell trays.
What we like: Fine texture, holds moisture well without waterlogging, sterile, affordable ($12–16 for 16 qt). One note: It comes very dry — pre-moistening before filling trays is more important with Espoma than some other brands. Add warm water and knead thoroughly until it feels like a wrung-out sponge before use.
Also Excellent: Pro-Mix Premium Seed Starting Mix
A more professional-grade option available at many garden centers and online. Pro-Mix uses a peat-based formula with perlite and mycorrhizae inoculants. Slightly more expensive but produces notably consistent germination and early root development. Preferred by many small-scale market gardeners for its reliability.
Best for: Gardeners who start large numbers of seedlings and want maximum reliability. The mycorrhizae addition supports faster root establishment — though the seedlings don’t benefit from it until after transplanting, so it’s less critical during the germination phase.
Widely Available: Miracle-Gro Seed Starting Potting Mix
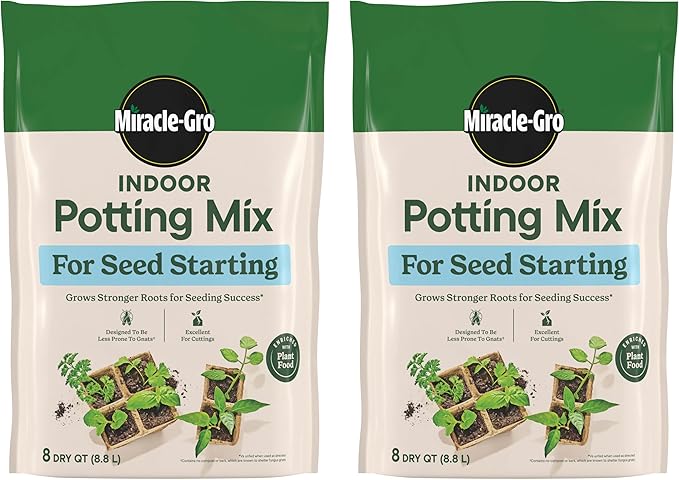
Available almost everywhere, which is its main advantage. It works — germination rates are acceptable for most vegetables — but it contains fertilizer (noted on the label), which some seeds don’t need and which increases damping off risk slightly. The texture is slightly coarser than Espoma or Pro-Mix.
Best for: Gardeners who can only find it locally and need to start immediately. If this is your only option, use it — it’s significantly better than potting mix for germination. Just be aware of the fertilizer addition and don’t add more liquid fertilizer until week 3–4.
Skip These
- Potting mix labeled as seed starting: Some brands market potting mix as “also works for seeds” — it’s technically true but not ideal. The coarser texture, higher nutrient content, and lower sterility make it inferior for germination.
- Compressed coir pucks (solo): These expand with water and work as a germination medium but provide no drainage and become waterlogged easily. If you use them, transplant seedlings out of them quickly.
- Any product that says “topsoil” or “garden soil”: Never use these in seed trays. They compact completely in cells, block root development, and introduce disease.
DIY Seed Starting Mix — The Recipe That Works
Making your own seed starting mix costs roughly half the price of commercial options when you buy ingredients in bulk — and you can dial in the texture and drainage characteristics for your specific setup. Here’s the recipe we’ve used for years:
OGW DIY Seed Starting Mix
- 2 parts coir (coconut fiber) — moistened before mixing → Burpee Coconut Coir on Amazon
- 1 part coarse perlite (horticultural grade) → Espoma Perlite on Amazon
- 1 part fine vermiculite → Hoffman Vermiculite on Amazon
Directions
- Place dry coir brick or loose coir in a large bucket. Add warm water gradually and break apart with your hands — coir is extremely dry and takes time to fully absorb water. Work until it’s evenly moist throughout (like a wrung-out sponge), not dripping.
- Measure moistened coir into a large tub or wheelbarrow. Add perlite and vermiculite.
- Mix thoroughly until no clumps remain and the three components are evenly distributed. The finished mix should feel light and fluffy, hold its shape loosely when squeezed, and release minimal water when squeezed hard.
- Use immediately or store in a sealed container or bag. This mix keeps indefinitely when stored dry.
💡 Why these three ingredients?
Coir replaces peat moss — it holds moisture well, has a slightly higher pH than peat (better for germination), and is a renewable byproduct of coconut processing rather than a mined resource. Perlite is volcanic glass processed into lightweight white pellets — it provides drainage and prevents compaction. Vermiculite holds moisture while providing aeration and a small amount of mineral nutrition — it bridges the gap between perlite’s drainage and coir’s water retention.
DIY Cost Comparison
| Approach | Cost per cubic foot | Notes |
|---|---|---|
| Espoma Organic Seed Starter | ~$0.85–1.10/qt (~$15/16qt) | Most convenient, reliable, widely available |
| Pro-Mix Premium | ~$1.20–1.50/qt | Best results, more expensive |
| DIY (coir + perlite + vermiculite, bought in bulk) | ~$0.40–0.55/qt | Cheapest, requires mixing, stores well |
The DIY savings become meaningful at scale — if you’re starting 500+ cells per season, mixing your own saves $20–40 per year and you control the exact texture. For a home gardener starting 2–3 trays, the convenience of a bag often outweighs the savings.
Where to Buy the Best Seed Starting Mix
📋 Product Note
The products listed below are the specific items referenced in this article — real Amazon listings we’ve verified. Prices change frequently; links go directly to the product page so you can check current pricing and reviews.
Store-Bought Seed Starting Mix
| Product | Price Range | Rating | Link |
|---|---|---|---|
| Espoma Organic Seed Starter — 16 qt (Best Value) | $$ | 4.7 | View on Amazon |
| Espoma Organic Seed Starter — 8 qt (Smaller Bag) | $$ | 4.7 | View on Amazon |
| Miracle-Gro Seed Starting Potting Mix — 8 qt (Budget/Widely Available) | $ | 4.6 | View on Amazon |
(Prices vary — check Amazon for current pricing. Links above are to the specific products we’ve referenced in this guide.)
DIY Recipe Ingredients
| Ingredient | Price Range | Rating | Link |
|---|---|---|---|
| Burpee Natural & Organic Coconut Coir — 8 qt | $$ | 4.5 | View on Amazon |
| Espoma Organic Perlite — 8 qt | $$ | 4.7 | View on Amazon |
| Hoffman Horticultural Vermiculite — 8 qt | $$ | 4.6 | View on Amazon |
When to Switch from Seed Starting Mix to Potting Mix
Seed starting mix is for germination and early seedling development — not for the plant’s entire indoor life. When seedlings are 3–4 inches tall with two sets of true leaves, they need to move into a larger pot filled with potting mix. At this stage they need the nutrients, drainage structure, and biological activity that a quality potting mix provides.
Keeping seedlings in seed starting mix past this stage produces pale, slow-growing plants that run out of nutrition before they go outside. The transition to potting mix is an important step, not optional. For the full potting-up process, our seed starting guide covers every step.
Frequently Asked Questions
Can I reuse seed starting mix from last year?
Only with sterilization. A used seed starting mix can harbor damping off pathogens from the previous season. To reuse it: spread on a baking sheet and heat in a 180–200°F oven for 30 minutes. This kills most pathogens without destroying the physical structure of the mix. Let it cool completely before using. Some gardeners add 10–20% new perlite to refresh drainage after a season of use.
Does the brand of seed starting mix really make a difference?
Yes, but mainly in two ways: texture (how fine and consistent it is, which affects seed-to-medium contact) and sterility (how reliably pathogen-free it is). Premium brands like Pro-Mix are more consistent than budget options. The DIY recipe, when made correctly, matches premium brands in both respects. The worst outcomes come from using potting mix or garden soil — not from choosing one acceptable seed starting brand over another.
My seed starting mix keeps getting moldy on top — what's wrong?
Mold on the surface of seed starting mix is almost always a sign of overwatering combined with insufficient airflow. Switch to bottom watering (set trays in a shallow dish of water rather than pouring from above), remove the humidity dome after germination, and add a small fan for airflow. A thin layer of perlite or vermiculite on the surface of each cell can also prevent surface mold while maintaining adequate moisture below.
Is peat-based or coir-based mix better?
Functionally very similar — both hold moisture well and provide good texture for germination. Coir has a slightly higher natural pH (6.0–6.8 vs. peat’s 3.5–4.5), which is closer to the ideal range for most vegetables without pH adjustment. Peat is a non-renewable resource harvested from peat bogs; coir is a renewable byproduct of coconut processing. We prefer coir for both performance and sustainability reasons, but quality peat-based mixes work equally well.
🌱 Part of Our Seed Starting Guide
- Seed Starting Guide — Complete Hub (Start Here)
- How to Start Seeds Indoors — Step-by-Step
- When to Start Seeds — Regional Calendar
- 15 Seed Starting Mistakes That Kill Seedlings
- How to Harden Off Seedlings — 7-Day Schedule
- Seed Starting Mix vs Potting Mix — What’s the Difference?
- How to Set Up a Seed Starting Station for Under $100
Final Thoughts
We hope this guide has taken the guesswork out of choosing a seed starting mix — because the medium really does matter, and it’s one of the easiest things to get right with a little clarity on what you’re buying.
Whether you go with Espoma, Pro-Mix, or a batch of your own DIY mix, the key is keeping it fine-textured, sterile, and moisture-retentive without staying wet. For everything else about the seed starting process, our complete seed starting guide covers every step.
Share this post with a fellow gardener who’s ready to get growing — and let us know in the comments whether you use store-bought or DIY mix — and which brand or recipe you’ve settled on. Happy growing!
