Making your own stepping stones is one of those weekend projects that feels much more intimidating before you try it than it actually is once you start. The core process is just mixing concrete, pouring it into a mold, and letting it cure — three steps most people have a vague sense of from watching others do it, without realizing how approachable it is to do yourself.
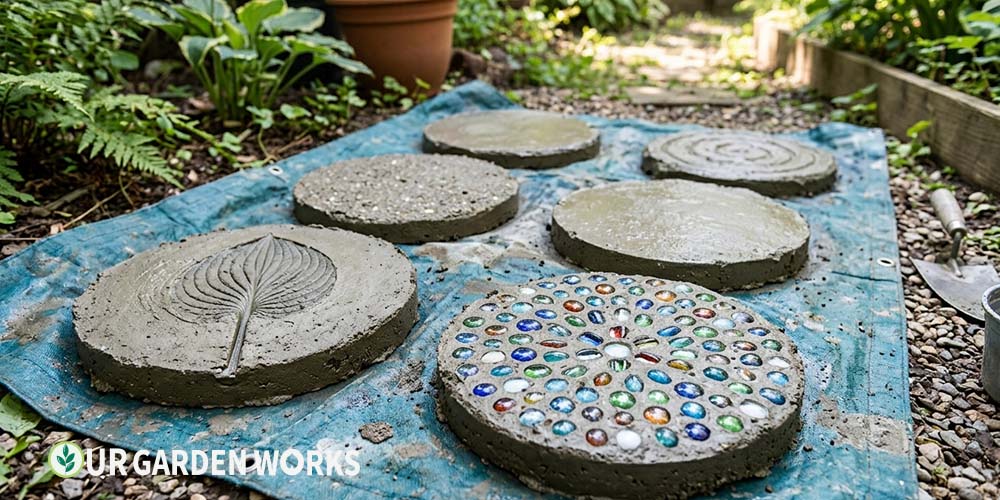
The real appeal of DIY stepping stones isn’t just the cost savings, though those are real — it’s the ability to customize size, shape, color, and decoration in ways no store-bought stone offers. A handprint from each grandchild, a mosaic of broken tile, a single perfect leaf imprint — these are details only a homemade stone can carry.
How to Make DIY Stepping Stones at Home: Mix quick-setting concrete to a thick, oatmeal-like consistency, pour into a greased mold (a plastic tub, a purpose-built stepping stone mold, or a cardboard form), smooth the surface, add any decorative inlays while the concrete is still wet, and let it cure undisturbed for 24–48 hours before removing from the mold. Allow a full 2–4 weeks before placing stones into regular foot traffic.
What You’ll Need
Materials and Tools
- Quick-setting concrete mix (Quikrete or similar — avoid plain Portland cement, which needs precise aggregate ratios beginners often get wrong)
- A mold — a purpose-built stepping stone mold, a plastic tub or basin, or a cardboard box lined with plastic
- Cooking spray or vegetable oil (for greasing the mold)
- A mixing tub or wheelbarrow
- A trowel for smoothing
- Rubber gloves and a dust mask (concrete dust and wet concrete are both irritants)
- Optional decorative materials: glass beads, mosaic tile, pebbles, leaves for imprinting, food coloring or concrete dye
- A tarp or flat, level surface to cure the stones on
Step 1 — Choose or Build Your Mold
The mold determines your stone’s final shape, so this decision comes first. Purpose-built rubber or plastic stepping stone molds, widely available online, give you a clean, finished edge and are reusable for many batches. They’re the easiest starting point if this is your first attempt.
For a more rustic or irregular look, a simple plastic basin, an old plant saucer, or even a shallow hole dug directly in sand can work as a mold. Cardboard boxes lined with plastic sheeting are a free, disposable option for custom rectangular shapes, though they need to be removed carefully since the cardboard itself isn’t reusable once wet.
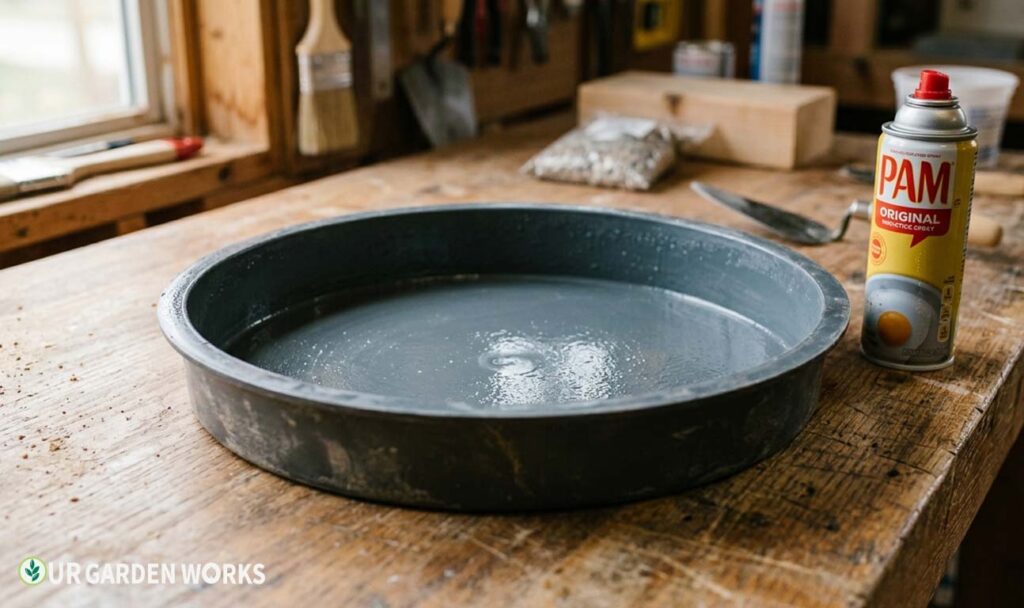
💡 Grease the mold generously
Whatever mold you use, coat the interior thoroughly with cooking spray or vegetable oil before pouring. This single step is what determines whether your finished stone pops out cleanly or fights you for ten frustrating minutes — don’t skip it even if the mold looks naturally non-stick.
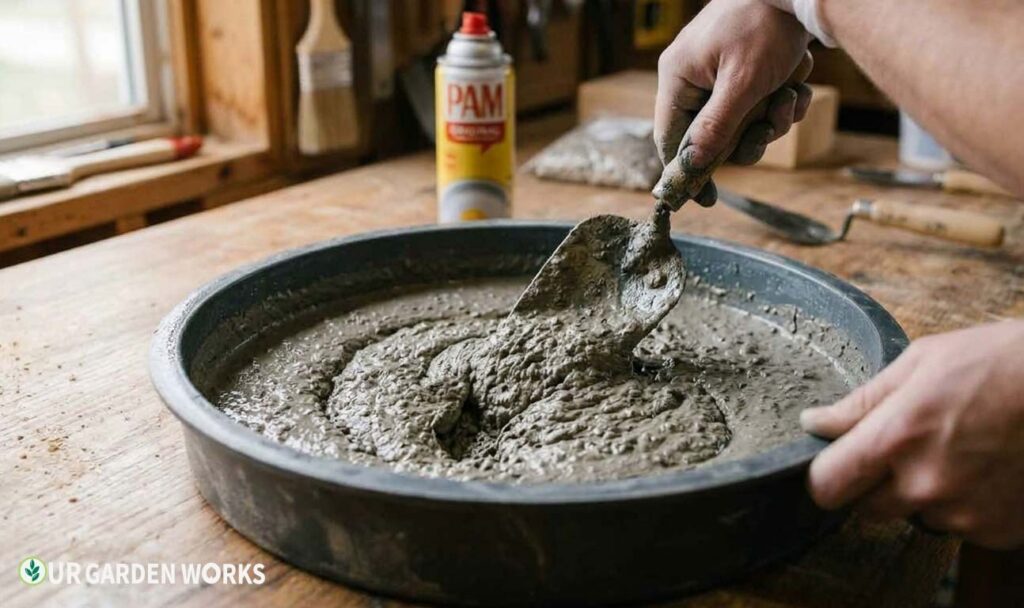
Step 2 — Mix the Concrete
Directions
- Follow the bag’s water-to-mix ratio closely — quick-setting concrete mixes are formulated to be forgiving, but too much water weakens the final stone significantly.
- Mix in a tub or wheelbarrow until you reach a thick, oatmeal-like consistency — thick enough to hold a shape when mounded with a trowel, but wet enough to settle into mold details without large air gaps.
- Mix only as much as you can pour within about 15–20 minutes, since quick-setting concrete begins firming up faster than standard mixes.
- If adding concrete dye or food coloring for a tinted stone, mix it into the water before combining with the dry mix, not after — this distributes color far more evenly.
Step 3 — Pour and Smooth
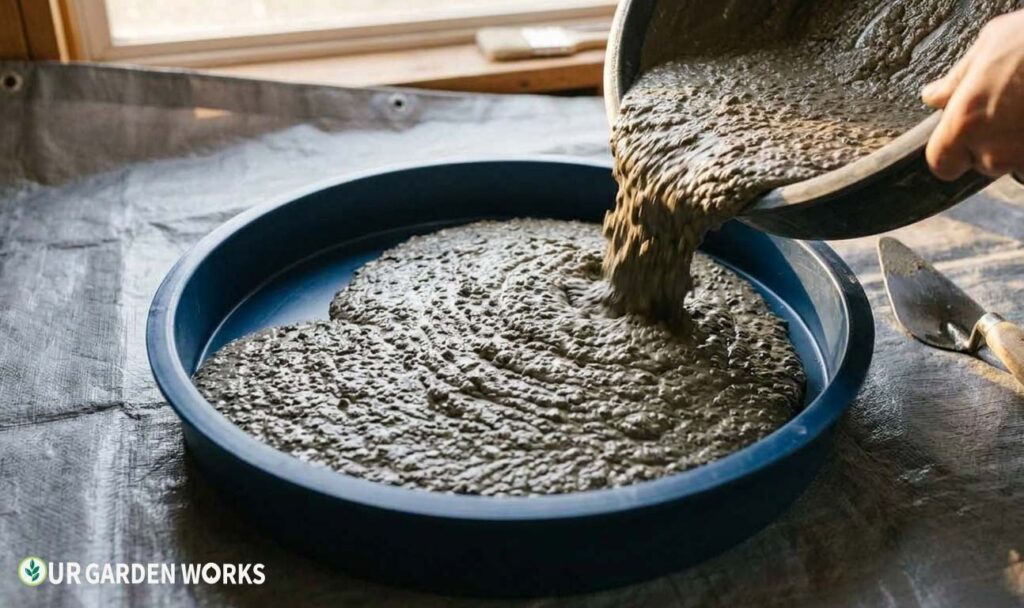
Pour the mixed concrete into your prepared mold, filling to a thickness of at least 1.5–2 inches for a stone that will hold up to regular foot traffic.
Tap the sides of the mold gently as you pour to help release any trapped air bubbles, which otherwise create weak spots in the cured stone.
Smooth the top surface with a trowel, working from the edges toward the center. A slightly textured finish (achieved by lightly dragging a stiff broom bristle or trowel edge across the surface before it fully sets) provides better slip resistance than a glass-smooth finish — worth keeping in mind if the stone will sit somewhere exposed to rain or shade.
Step 4 — Add Decorative Touches (Optional, While Still Wet)
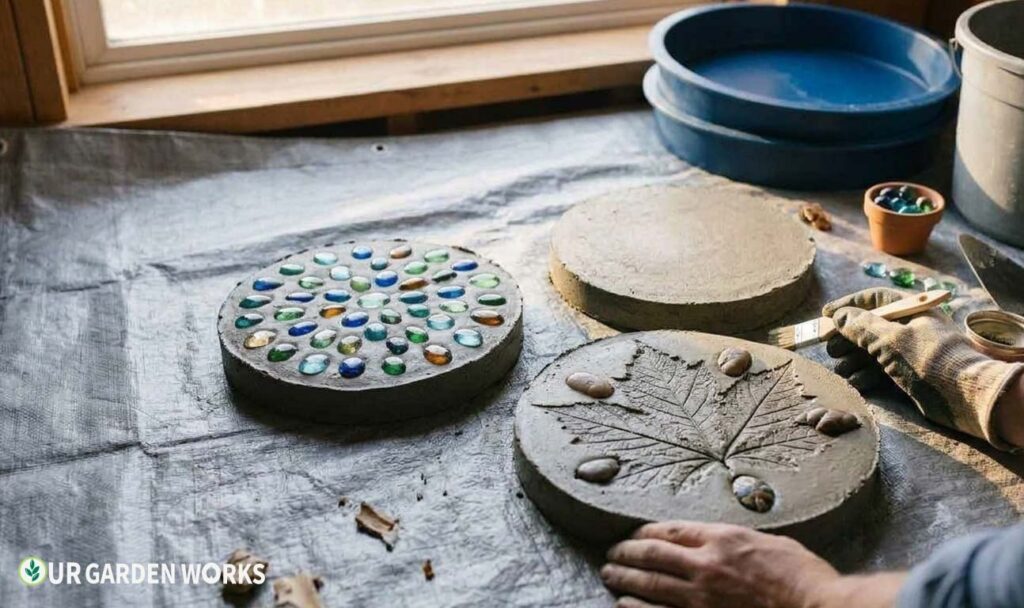
This is the step that makes DIY stones genuinely special rather than just a cheaper version of store-bought. Any decoration needs to go in while the concrete is still wet enough to hold an impression but firm enough not to sink completely.
- Handprints or footprints: Press gently into the surface once the concrete has firmed slightly — usually 15–30 minutes after pouring, depending on temperature.
- Leaf imprints: Press a real leaf into the surface, then carefully lift it away once the concrete has set enough to hold the impression — usually after 30–45 minutes.
- Mosaic tile or glass beads: Press pieces partway into the wet concrete in your desired pattern, leaving enough surface exposed that they’ll be visible once cured.
- Stamped patterns: Specialty concrete stamps, or even household items like a textured rolling pin, can imprint a repeating pattern across the surface.
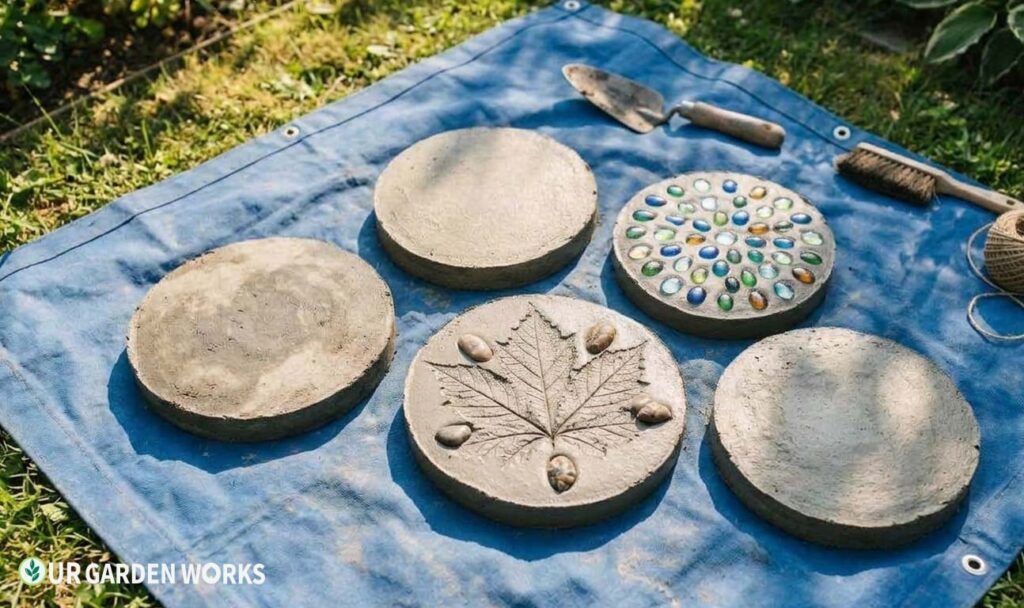
Step 5 — Cure and Remove from the Mold
Let the stone cure undisturbed for 24–48 hours before attempting to remove it from the mold — rushing this step is the most common cause of cracked or broken DIY stones. Quick-setting concrete firms up fast, but full structural curing takes longer than the surface appears to suggest.
⚠️ Full strength takes weeks, not days
A stone that feels solid after 48 hours has not reached its full strength yet. Concrete continues curing and hardening for roughly 28 days. Keep new stones out of regular foot traffic and away from heavy weight for at least 2–4 weeks, even though they’ll look and feel finished much sooner.
Once removed from the mold, set the stone on a flat surface (a tarp works well) to continue curing in open air. Light misting with water once a day for the first week can help the concrete cure more evenly and resist surface cracking, especially in hot or dry weather.
Placing Your Finished Stones
Once your stones have fully cured, placing them follows the same principles as any stepping stone path — set into a thin sand bed for casual use, or into a proper gravel and sand base for a path that will see daily traffic.
See our guide to choosing and installing stepping stones for the full sizing, spacing, and installation details that apply whether your stones came from a store or your own driveway.
One advantage of DIY stones worth planning around: since you control the size and shape from the start, you can make a batch specifically sized and spaced for a comfortable walking stride, rather than working around whatever dimensions a retailer happens to offer.
Measuring your own natural stride length before pouring molds is a small step that pays off in a much more comfortable finished path.
Frequently Asked Questions
How thick should DIY stepping stones be?
At least 1.5 inches for stones that will only see occasional light foot traffic, and 2 inches or more for anything used regularly or in a freeze-thaw climate. Thinner stones are significantly more prone to cracking both during curing and over years of seasonal ground movement.
Can I use regular Portland cement instead of a pre-mixed concrete bag?
You can, but pre-mixed bagged concrete is strongly recommended for beginners since it already contains the correct ratio of cement, sand, and aggregate. Mixing your own from raw Portland cement requires getting that ratio right yourself, and an incorrect mix is one of the leading causes of weak, crumbly, or cracked stones.
Why did my stepping stone crack while curing?
The most common causes are curing too fast in hot, dry conditions (try misting with water and covering loosely with plastic for the first 24 hours), too much water in the original mix weakening the structure, or insufficient thickness for the stone’s intended use. Cracking after the stone is placed and in use is usually a freeze-thaw issue, which thicker pours and proper curing time both help prevent.
How long do homemade concrete stepping stones last?
A properly mixed, adequately thick, and fully cured stone can last 15–20 years or more outdoors — comparable to a quality store-bought concrete stepper. The main factors that shorten lifespan are insufficient thickness, rushed curing, and exposure to severe freeze-thaw cycling without enough structural depth to withstand it.
Related Articles in Our Garden Paths Guide
Final Thoughts
We hope this guide has shown you that homemade stepping stones are well within reach for a weekend project, and that the personal touches you can build in — handprints, leaf imprints, a favorite color — are something no store-bought stone can offer.
For all our backyard and landscaping guides, our backyard design guide hub links to everything in this series.
Share this post with a fellow gardener who’s ready to start their own path project — and let us know in the comments what decorative touches you’re planning for your stones. Happy growing!