Not every garden path needs to start with a shovel and a weekend of excavation. If your soil drains reasonably well and you’re not trying to support heavy foot traffic or vehicle weight, a no-dig gravel path built directly on top of existing lawn or bare soil can look just as finished as one that took twice the labor.
The no-dig method swaps excavation for layering. Instead of digging down to make room for a gravel base, you build the base up from ground level using fabric and edging to contain everything. It’s faster, easier on your back, and perfectly durable for the kind of casual garden path most home gardens actually need.
How to Lay a Gravel Garden Path: Mow the area short, lay landscape fabric directly over the grass or soil, install edging to contain the gravel, then add 2–3 inches of crushed gravel on top. No excavation required. The grass underneath dies off from lack of light within a few weeks, and the fabric prevents it from regrowing through the gravel.
Why the No-Dig Method Works
The key insight behind no-dig gravel paths is that grass needs light to survive. Smother it completely with fabric and it dies back within a few weeks without you lifting a single shovel of sod. The fabric then becomes a permanent barrier that keeps new growth from pushing up through your gravel from below.
This method isn’t right for every situation. On a slope, gravel laid without excavation can migrate downhill over time. On clay soil that drains poorly, water can pool on top of the fabric rather than soaking through, leaving puddles after rain. For flat, reasonably well-draining yards, though, it’s a genuinely good shortcut.
What You’ll Need
Materials and Tools
- Heavy-duty landscape fabric (woven, not the thin spun-bond type)
- Crushed gravel — ¾-inch minus or pea gravel, depending on the look you want
- Edging material — metal, plastic, or stone edging to contain the gravel
- Lawn mower (to cut existing grass short first)
- Garden hose or stakes and string for marking the path
- Landscape staples or fabric pins
- Rake
- Wheelbarrow
Step 1 — Mark and Mow the Path
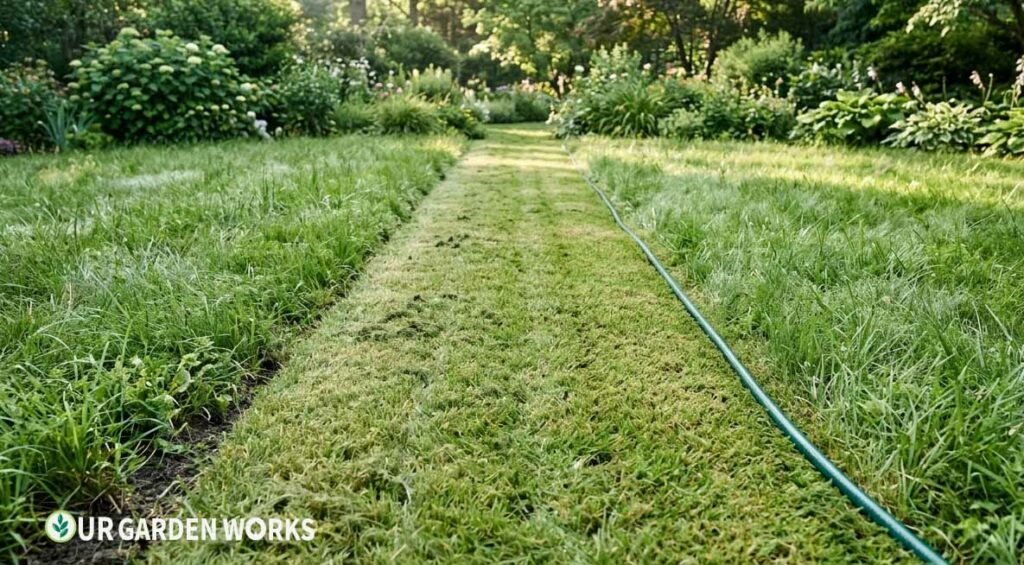
Mark your path’s edges with a hose or stakes and string, just as you would for any garden path project. Mow the grass within the marked area as short as your mower allows. Shorter grass dies back faster under fabric and creates a flatter surface for the fabric to lie against.
If the ground inside your marked area has obvious high spots, bumps, or large rocks at the surface, knock these down or remove them now. The no-dig method skips excavation, not basic surface prep — a lumpy starting surface produces a lumpy finished path.
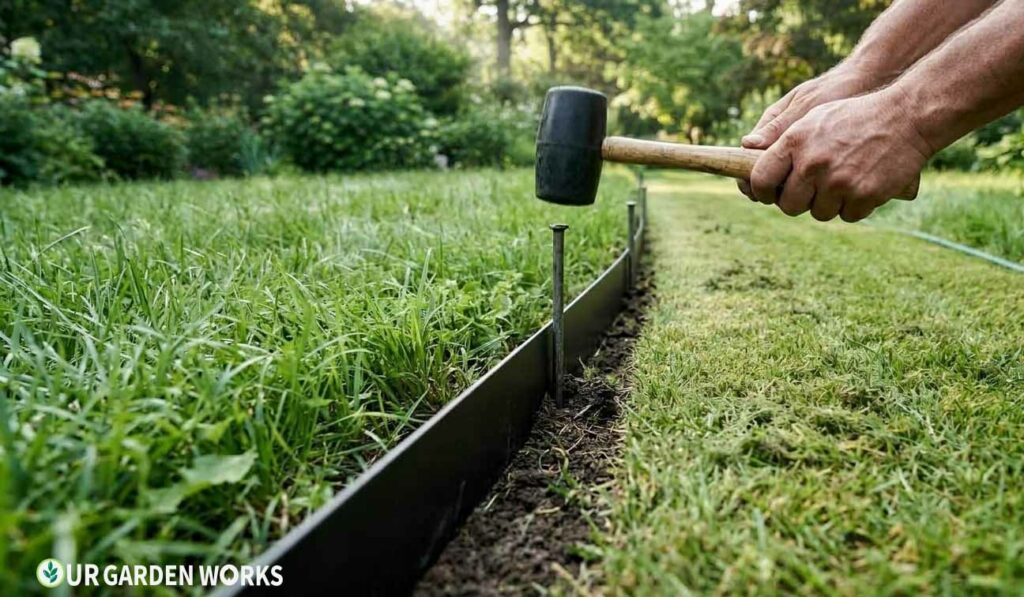
Step 2 — Install Edging First
Directions
- Install your edging material along both sides of the marked path before laying fabric or gravel. Edging installed after the fact is much harder to get straight and tight against the gravel.
- Metal or plastic landscape edging works well for clean, straight or gently curved lines. Stack stone or brick edging gives a more rustic look but takes longer to install.
- Drive edging stakes in securely — this is what keeps gravel from spreading out into your lawn over time, which is the most common complaint about gravel paths in general.
Step 3 — Lay the Landscape Fabric
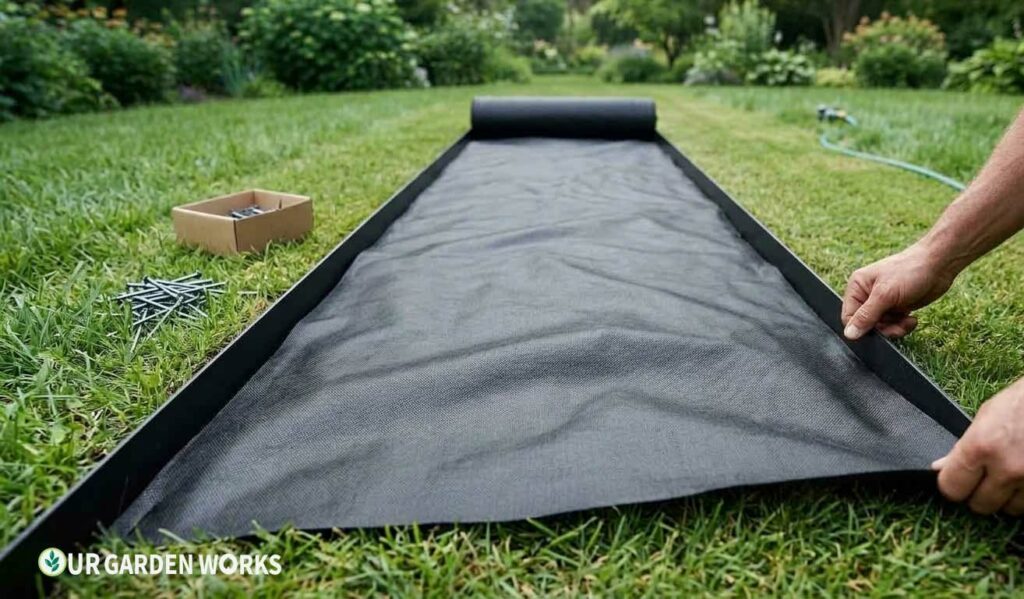
Roll heavy-duty woven landscape fabric across the entire path area, overlapping seams by at least 6 inches if you need more than one width. Pin the fabric down every 12–18 inches with landscape staples, paying special attention to the edges where wind or foot traffic could lift it.
Use the heaviest, most durable fabric you can find for this project. Thin spun-bond fabric (the kind often used under flower bed mulch) tears and degrades much faster under the weight and friction of gravel and foot traffic.
💡 Overlap fabric generously at the edges
Run the fabric a few inches up and over your edging on both sides before trimming. This closes off the small gap where grass and weeds most commonly find their way back into a gravel path — right along the border where fabric coverage is often thinnest.
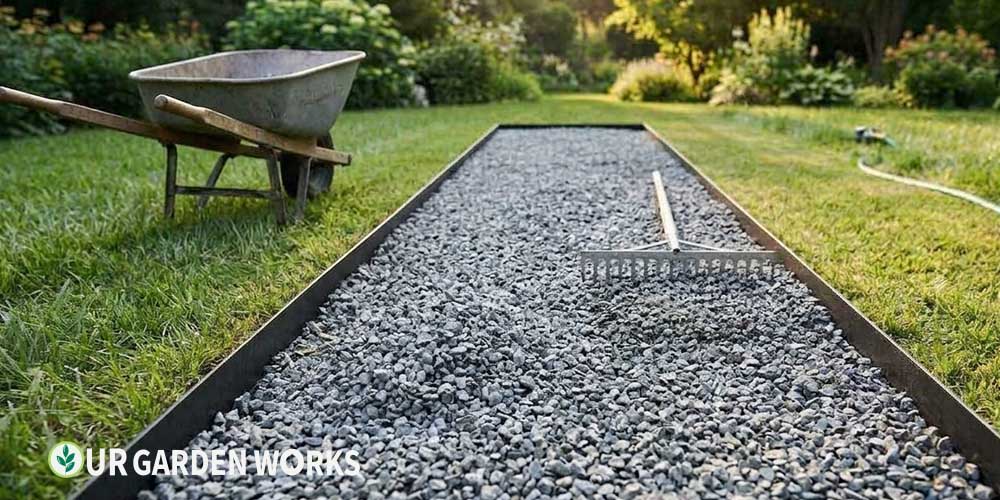
Step 4 — Add and Level the Gravel
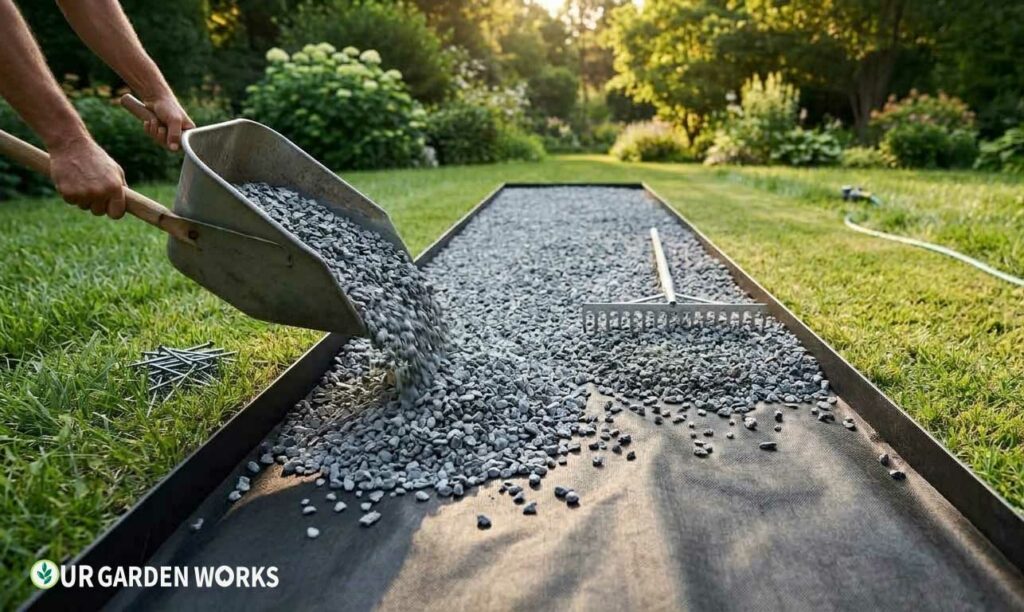
Dump gravel directly onto the fabric using a wheelbarrow, working in small batches across the length of the path rather than trying to spread one enormous pile. Rake it level to a depth of 2–3 inches across the entire path.
Two to three inches of gravel is enough to fully hide the fabric beneath and to give a stable walking surface, without using more material than necessary. Going deeper doesn’t add much functional benefit and significantly increases material cost on longer paths.
Gravel Size and Type — What to Choose
| Gravel Type | Feel Underfoot | Best For |
|---|---|---|
| Pea gravel | Loose, shifts underfoot | Casual garden paths, low traffic areas, decorative borders |
| ¾-inch crushed/minus | Compacts firmer, more stable | Main walkways, wheelbarrow access, higher-traffic paths |
| Decomposed granite | Compacts almost solid | High-traffic paths, areas needing a firmer surface than loose gravel |
Pea gravel looks beautiful and is the cheapest option, but it shifts and scatters more than angular crushed gravel, which interlocks and stays put better underfoot. If your path sees regular use rather than occasional strolling, lean toward crushed gravel or decomposed granite for a more stable feel.
Maintaining a No-Dig Gravel Path
No-dig paths need a bit more attention than excavated ones over the first year, simply because the fabric barrier sits closer to the surface and any gaps show up faster. Check edging periodically to make sure gravel isn’t migrating into the lawn, and top off thin spots where foot traffic has pushed gravel aside.
Weeds occasionally find their way in through wind-blown seeds that land in the gravel itself rather than growing up from below — this is normal and not a sign the fabric failed. A quick hand-pull or spot treatment handles these without any need to redo the path.
Combining Gravel With Stepping Stones
A popular variation on the no-dig method sets flat stepping stones directly into the gravel after it’s spread, rather than leaving the path as pure gravel underfoot.
This gives you a more defined walking surface while keeping all the speed advantages of the no-dig approach — you’re simply nestling stones into the top layer of gravel rather than building a separate sand bed for them.
To do this, spread your gravel slightly deeper than usual (3–4 inches) in the spots where stones will sit, position the stepping stones so their top surface sits just at or slightly above the gravel line, and backfill gravel around the edges to lock them in place.
This hybrid approach is worth considering if you want some of the clean look of a stepping stone path (see our guide to choosing stepping stones) without the full sand-and-base installation a dedicated stepping stone path requires.
Frequently Asked Questions
Will the grass underneath really die, or will it grow back?
Most common lawn grasses die back within 2–4 weeks once fully blocked from sunlight by fabric and gravel. A few aggressive spreading grasses (like Bermuda grass) can occasionally push through thin spots in fabric over a longer period, so use the heaviest woven fabric available if that’s a grass type in your yard.
Is the no-dig method as durable as an excavated gravel path?
For casual foot traffic and flat, well-draining ground, yes — the difference in longevity is minimal. For paths that need to support frequent wheelbarrow use, slopes, or poorly draining clay soil, an excavated path with a proper gravel base (see our gravel vs flagstone comparison) holds up better over many years.
How long does a no-dig gravel path take to install?
A 20-foot path can usually be completed in a single weekend, including marking, edging installation, fabric laying, and spreading gravel — significantly faster than an excavated path of the same size, which often takes a full weekend just for the excavation and base compaction steps.
Related Articles in Our Garden Paths Guide
Final Thoughts
We hope this guide has shown you that a great-looking gravel path doesn’t always require a weekend of digging — sometimes the easier route really is the right one. For all our backyard and landscaping guides, our backyard design guide hub links to everything in this series.
Share this post with a fellow gardener who’s ready to start their own path project — and let us know in the comments whether your yard is a good candidate for the no-dig method. Happy growing!