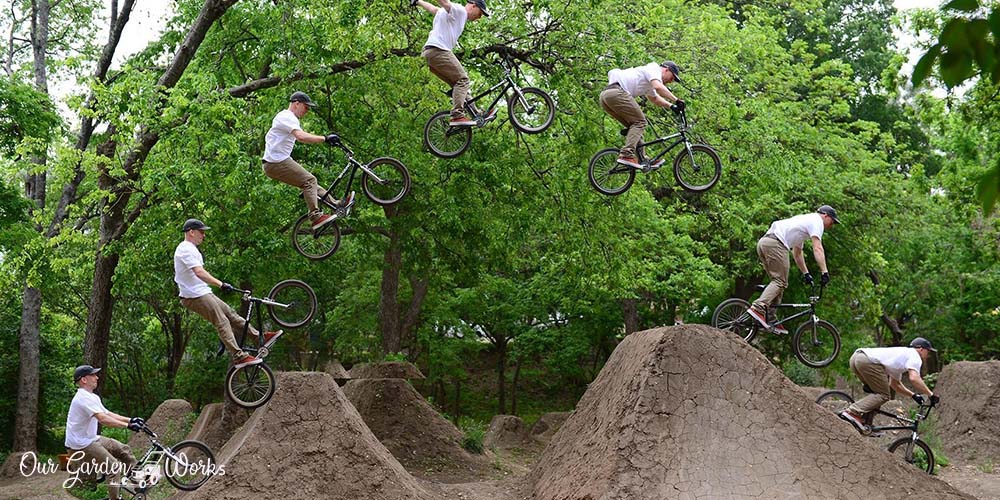
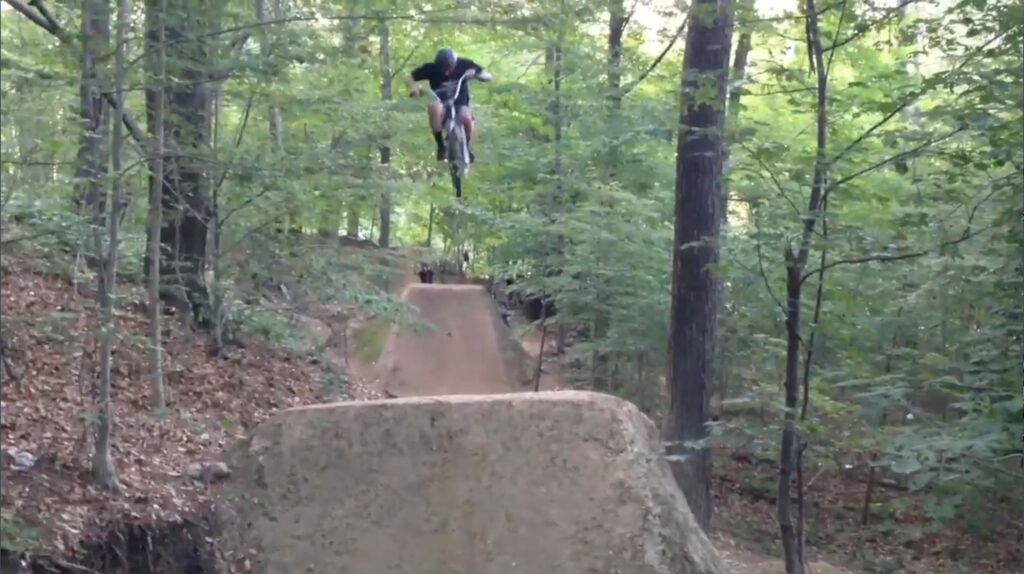
Turning your unmaintained backyard into a dirt jump practice arena is a good way to maximize your space. Just imagine having unlimited time to practice your jumps and just enjoy the adrenaline-inducing sport of jumping.
The art of building dirt jumps in your backyard takes dedication and determination. Doing the endless digging and shaping can be exhausting but it’s worth it, especially if you start dirt jumping.
In this post, we’ll teach you how to make tabletop and double dirt jumps in your backyard using simple gardening tools.
We’ll also share some tips and the safety consideration you have to make when testing out the dirt jumps. But before we head to the procedure, let’s start with the basics of dirt jumps.
What is a Dirt Jump?
A dirt jump is a mound of dirt that is used for practicing dirt jumping for both bikers and motorcycle riders. Races for BMX and motorcycle competitions take place in race tracks filled with dirt jumps. That’s why certain VBMX models and bikes are specially made for dirt jumping.
Since the COVID pandemic came around, most of us were restricted to go out and so does BMX riders. But if you have an empty backyard, you can build your dirt jumps and ride all you want while being safe inside your property.
Before you start digging your lawn, make sure that you consider the size of your backyard and run in that need to have a smooth landing.
You might like: How To Hang A Swing Between Two Trees
Here are the different types of dirt jumps to help you identify what kind of dirt jump you’ll build in your backyard.
Types of Dirt Jumps You Can Build in Your Backyard
Either you have a big backyard or a mid-sized one, we listed all the possible dirt jumps you can build on your own. Let’s start with the basic – tabletops.
1. Table Tops Dirt Jumps
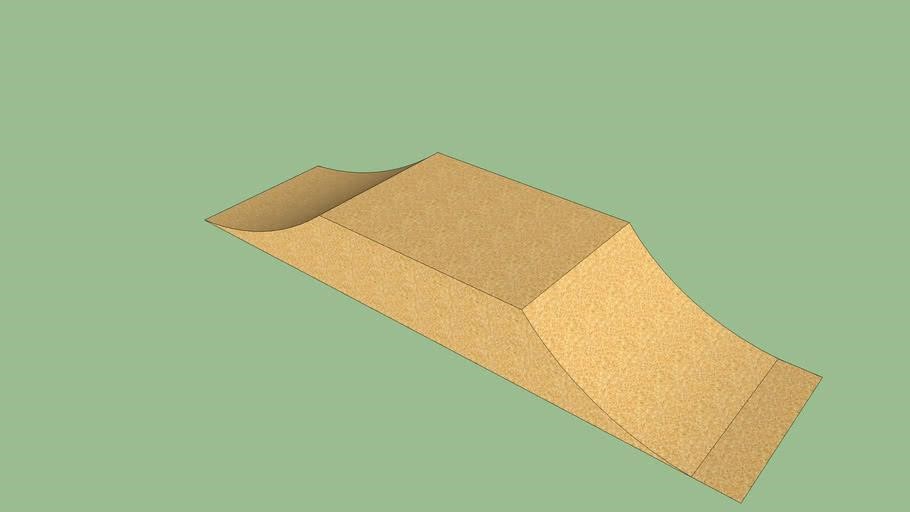
One of the beginner-friendly track that is mostly 2 feet in height. It’s a good practice dirt jump since you can easily land and regain your balance if you get sidetracked. It also has a flat top where its name is derived since it resembles the shape of a table.
2. Doubles or Gap Jump
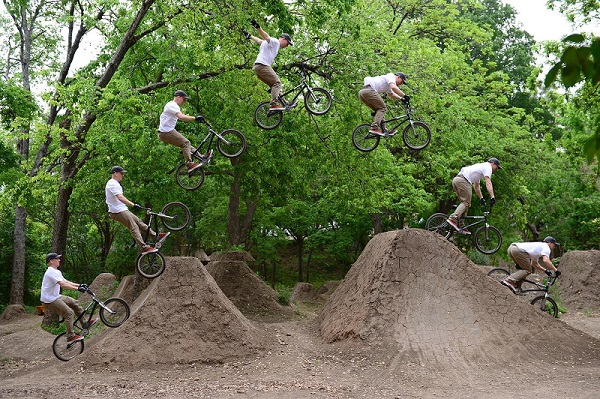
Another beginner dirt jump that requires three skills to have a smooth and successful ride. You’ll need to learn how to do a pump, manual, and bunny hopping. The only difference it has with tabletop is it doesn’t have dirt mounds in the middle.
That means bikers have to land on the other end since there will be no dirt that will support their weight when they go off track.
3. Roller Dirt Jump
Another simple dirt jump that you can build inside your backyard. This type of dirt jump helps you practice with your pumping tricks. You can either make one or multiple rollers depending on the next dirt jump in your track.
Several types of jumps are steep and may not be suitable in a typical backyard. However, if you’re up for some challenge or training for a competition, here are the advanced dirt jumps you can build around your back yard:
- Ski jumps are placed in downhill slopes that only consist of a takeoff. Since it is usually in placed steep areas, it’s one of the common tracks for BMX competitions.
- Step-ups are like a double dirt jump but the landing end is higher. So you’ll need more speed to reach the other end and jump smoothly. Any hesitation with the speed may lead you into a crash or makes the jump an uncomfortable one.
- Spine jumps are steep ramps that almost forms like a triangle since there is no space in the middle like the ones you find on a tabletop. The small distance allows you to practice 360 jumps or lip tricks and balance the bike at the top.
Pro tip: We recommend that you start with the beginner dirt jumps like tabletops. Once you get used to it, you can always reshape the dirt jumps and rebuild them into more advanced dirt jumps like step-ups.
How To Build Dirt Jumps in Your Backyard
In this post, we’ll only tackle the beginner level dirt jumps such as tabletops and double dirt jumps.
Once you’ve learned how to build these two tracks, the other dirt jumps would just be a piece of cake.
The materials you’ll need for building dirt jumps are almost the same for both doubles and tabletops.
Thes include:
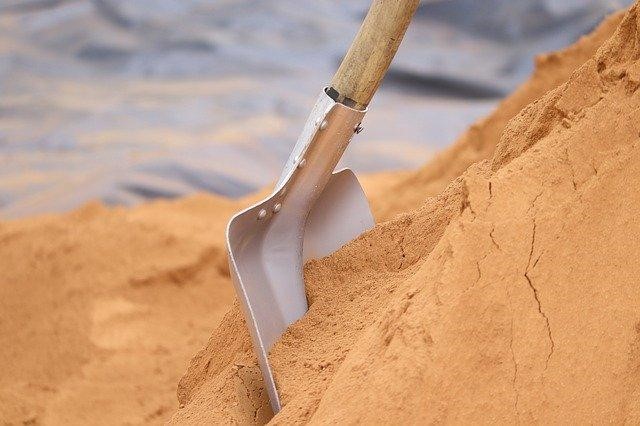
- Spade – used to dig and transfer dirt from one place to another.
- Wheelbarrow – helps in transferring dirt easier
- Garden hose – spread water to the dirt jumps to make it more compact
- Tape measure – used to get accurate width height and distance from lip to landing.
- Logs or unused woods – helps fill the dirt jump so that less dirt will be added to the dirt jump. They also help give structure to the dirt jump.
- Hammer – used to keep the logs intact
- Saw or chainsaw – used to shape the logs and make them uniform in size.
- Rake – used to clean debris in the dirt jump area.
How to Build a Tabletop Dirt Jump
It’s time to start building your first diet jump in your backyard. The steps are as follows:
- Identify the ideal location of your dirt jump. You have to keep in mind that there should be enough for your run in towards the dirt jump and there should be no obstruction around.
- When you find the ideal location for your tabletop, you should start collecting dead wood or logs around your area. The bigger logs, the better.
- Clean the area with a rake to remove debris and stones.
- Place the logs in the area based on the size of the tabletop you want to build. The ideal size of the tabletop is 2 feet wide, 2 feet tall, and 4 to 5 feet distance from the lip to the landing.
- Cut the logs with the saw or chainsaw based on the required size of your tabletop dirt jump.
- When you’ve built a rectangular shape made up of logs. You can now start putting in the dirt. Avoid digging holes near the dirt jump keep you from running into them in the future. The best way to get dirt is to scrape the soil than digging.
- Use the wheelbarrow to help you pile up the dirt in the area. Digging and scraping the soil can take a whole day or 2 days to finish if you’re building a high tabletop.
- After piling up 5 to 6 inches of mud, make sure to pack the dirt by stepping on it, patting the back of the shovel to the surface, or using your bike to run it over.
- Keep doing this process as your dirt jump takes shape.
- When you reached the ideal height of 2 feet, you can start shaping and smoothing the surface of the tabletop. Sprinkle an adequate amount of water to help pack the dirt and let it settle.
- You may cover the tabletop for 2 to 3 days to let the dirt harden on its own.
- Lastly, test it out and see if there are any adjustments you have to make a smooth landing.
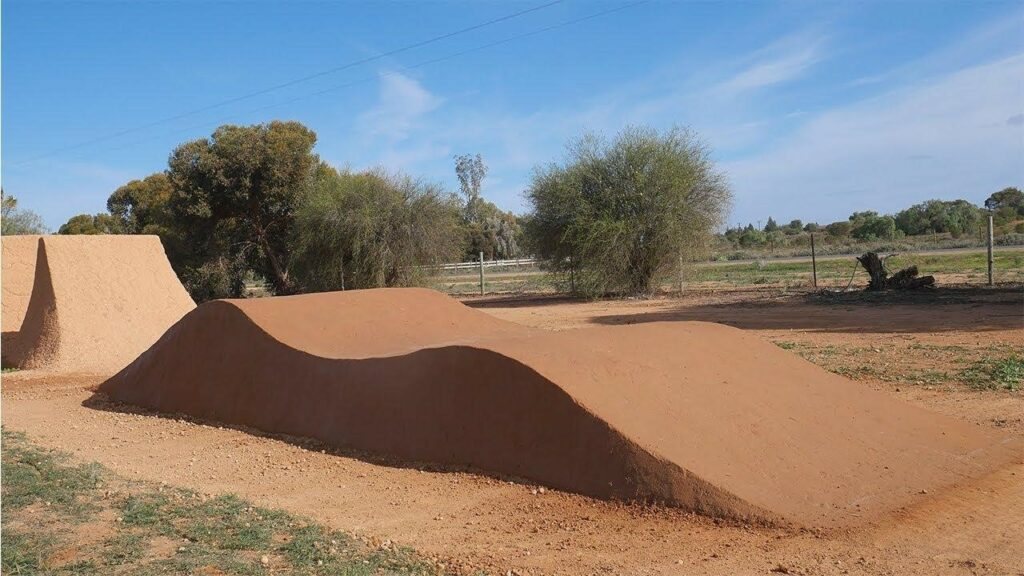
How to Build a Double Dirt Jump
The only difference when it comes to a double dirt jump is it’s hollow in the middle of the dirt jump. Here’s how you can start building your first double dirt jump:
- For double dirt jump, it’s more ideal to build the landing first since the lip can be adjusted one way or another. Identify the best location for your double dirt jump. As always make room for your run-in around the dirt jump.
- Collect logs or unused wood to help fill in the base of the mound of dirt. It also saves you time and effort in digging more dirt.
- Use the rake to clean the location of your double dirt jump. Since there’s a significant distance between the lip and the landing, you’ll need to clear a wider area.
- Trim the log with your saw and make sure it won’t stick out on the dirt’s surface to avoid accidents. Use the hammer and some nails to keep the logs intact.
- When the base and structure of the dirt jump is done. You may start scraping the ground around the dirt jump. Make sure not to dig holes that may cause accidents in the long run.
- To build the landing properly pile up the first in a pyramid form with a much wider base than the lip. This allows the landing to have enough space to support your weight when you land.
- The common measurement for the distance between the two ramps is 4 feet. Both ramps should be 3 feet in height and width. Use the tape measure to measure the distance accordingly.
- Use the wheelbarrow to help you pile up the dirt in the area. Piling up the dirt can take a whole day or 2 days to finish, especially if you’re alone.
- For every dirt you add, make sure you pack it immediately to make sure the dirt will not run down when you land. You can either step on the dirt jump, pat it with the back of the spade, or use your bike to run it over.
- Keep doing this process until you reach the ideal height of 3 feet, you can start shaping and smoothing the surface. Use water to help pack the dirt and let it settle.
- Once you’re done with landing, you will repeat the process with the lip.
- You can cover the double dirt jump for 2 to 3 days to let the dirt harden on its own.
- Test the dirt jump with caution and see if you need to move the lip or smoothen the landing surface.
Safety Considerations
Sports such as BMX and motocross are some of the riskiest in the sports industry. One wrong landing and you may end up with a broken leg or ribs.
No matter how experienced you think you are in the world of biking, always consider taking the following safety measures:
- While testing out the dirt jumps you made, make sure that you wear the proper protective gear for your body. Keep the following handy every time you dirt jump:
- Helmet
- Long sleeves
- Pants
- Shoes
- Safety pads for elbows and knees
- Do not underestimate the importance of packing the dirt on the landing ramp. A hard landing may get your wheels stuck on the dirt and lead to an accident.
- Cut logs and make sure nothing is sticking out on the surface of the dirt jump as it may cause injury.
5 Tips in Building Dirt Jumps in Your Backyard
Building and maintaining dirt jumps is another level of love for the sport of dirt jumping. It’s mostly physical work and may consume a lot of time before you finish. However, anything that’s word sweating for will be worth it in the end.
Here are some tips for building dirt jumps in your backyard:
- Building dirt jumps is easier with a couple of friends that can help you dig and pack the dirt. It may also serve as your bonding time and a good way to practice teamwork.
- The good types of soil for dirt jumps are moist soil or clay soil since they pack easily with a few pat using the spade.
- Avoid building dirt jumps in locations near walkways to prevent the dirt jump from running down.
- You may use the help of machines like a backhoe if you’re building a huge and steep dirt jump.
- You can use your car to pack the dirt on the dirt jump but running it up and down the dirt mound.
You might also like: How To Build An Underground Room or Safe Room In Your Yard
Final Thoughts
BMX and motocross can get quite addictive especially if you’re learning new tricks in the comforts of your property. Building dirt jumps may be challenging but it’s worth all the muscle aches when you get unlimited jumps in return.
We hope this article has helped you build your dirt jumps in your backyard. With an unlimited chance to practice, who knows you might qualify for the next BMX tournament!
If you find this post helpful, share this with your friends and help them practice their jump tricks in their yards too!
For more design ideas, project guides, and planting inspiration, our backyard design guide links to every outdoor project and design article we’ve published.