

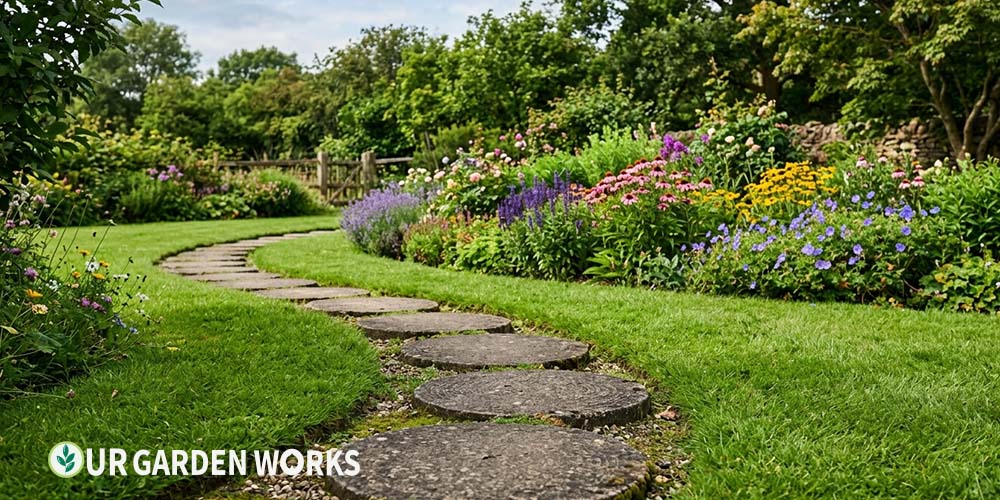
Stepping stones are deceptively simple to shop for until you actually start looking. There’s natural stone, cast concrete pavers shaped to look like natural stone, recycled rubber designed to flex with the ground, and decorative options meant more for looks than durability.
Each category has a real best-in-class option and a handful of products that look similar in photos but perform very differently once they’re set into your lawn.
We’ve spent time researching and comparing stepping stones across material types, weighing what actually matters for a garden path: slip resistance when wet, how well they hold up to freeze-thaw cycles, whether they shift or settle over time, and whether the price reflects genuine durability or just marketing.
This guide breaks down the best option in each category, along with the sizing and spacing details that matter just as much as which product you buy.
By the time you finish reading, you should have a clear sense of which category fits your specific path — not just which individual product has the best reviews in isolation.
What’s the best Stepping Stones for Garden Paths? For natural stone, irregular flagstone or bluestone steppers offer the best durability and the most authentic look. For a budget-friendly, consistent option, cast concrete steppers shaped like wood rounds or natural stone perform well and cost far less. For high-traffic or accessibility-focused paths, large square or rectangular concrete pavers provide the most stable, even walking surface. Space steppers 2–3 inches apart for a natural stride, or directly touching for a continuous walking surface.
What Makes a Good Stepping Stone — The Criteria We Used
Before getting into specific products, it’s worth understanding what actually separates a good stepping stone from a disappointing one. Four factors matter more than anything else, and they apply regardless of material.
- Thickness: Anything under 1.5 inches thick is prone to cracking under foot pressure or from freeze-thaw expansion, especially in colder climates. Look for at least 1.5–2 inches of thickness in any stone meant for regular foot traffic.
- Surface texture: A perfectly smooth, polished surface looks elegant but becomes dangerously slick when wet or frosted. The best stepping stones have a naturally textured or lightly exposed-aggregate surface that provides grip without looking rough.
- Size relative to stride: Stones smaller than about 12 inches in diameter require unnaturally precise footing and don’t accommodate a normal walking stride. Most adults need at least 14–16 inches of usable surface to step comfortably without looking down constantly.
- Weight and stability: Heavier stones resist shifting underfoot far better than lightweight options. This matters most for stones set in soil or sand rather than a fully mortared installation.
Best Overall — Natural Bluestone Irregular Steppers
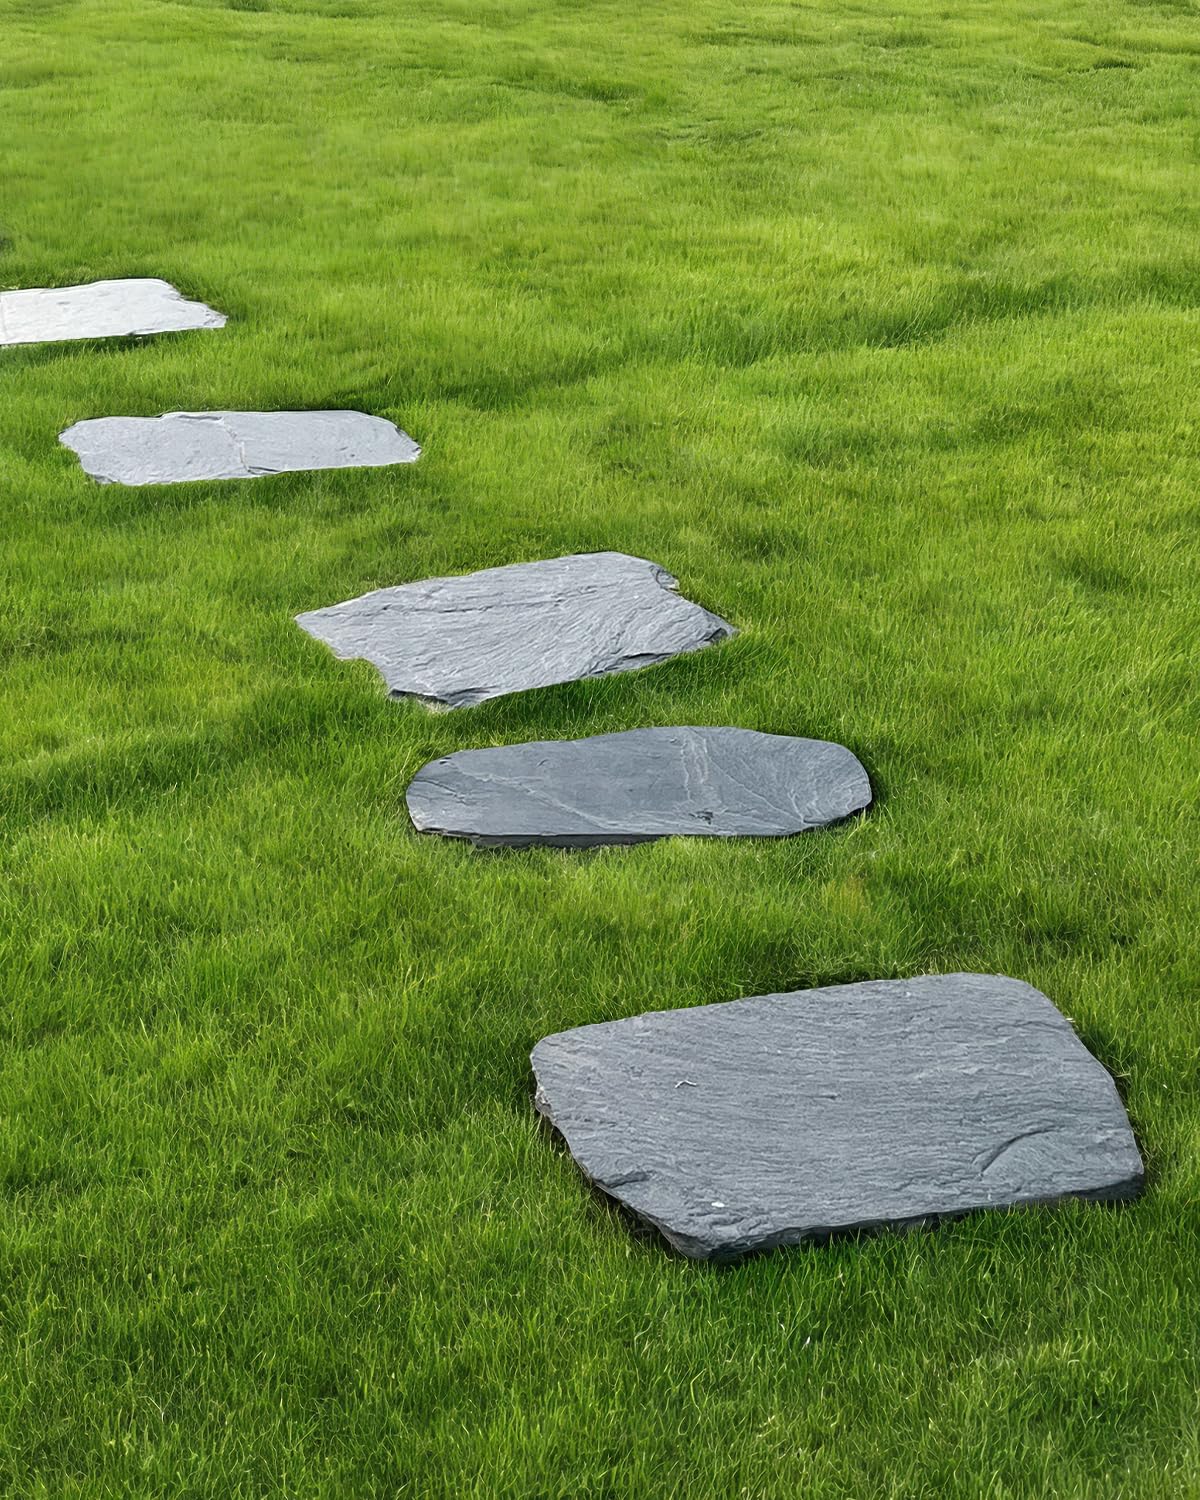
Natural bluestone remains the gold standard for garden stepping stones, and for good reason.
It’s dense, weather-resistant, naturally textured for good grip, and ages beautifully rather than degrading. Irregular-shaped bluestone steppers, typically sold by the piece or by weight, give a path an organic, established look from the very first day rather than the slightly artificial uniformity of cast products.
The tradeoff is price and weight — natural stone costs more per square foot than concrete, and individual pieces can be heavy enough that placement is a two-person job for the largest sizes.
For a path that will be a permanent garden feature rather than a temporary or rental-property installation, the investment pays off in both appearance and decades of durability.
| Product | Price Range | Rating | Best For |
|---|---|---|---|
| Biotolot Irregular Bluestone Stepping Stones (12–16″) | $$ | 4.6 | Permanent garden paths, natural aesthetic |
Best Budget Option — Cast Concrete Round Steppers
If natural stone is outside your budget, cast concrete steppers shaped to resemble wood rounds or natural stone slabs deliver most of the visual appeal at a fraction of the price.
Quality varies significantly between brands here — the better products use a textured, exposed-aggregate or stamped wood-grain surface that provides real slip resistance, while the cheapest options have a smooth, slick finish that becomes hazardous when wet.
Concrete steppers are also more consistent in size and shape than natural stone, which some gardeners prefer for an evenly spaced, more formal-looking path. They’re lighter than equivalent-sized natural stone, making solo installation realistic even for larger pieces.
| Product | Price Range | Rating | Best For |
|---|---|---|---|
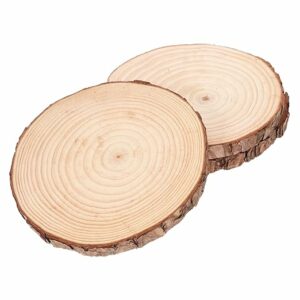
| Milisten Wooden Stepping Stones | $$ | 4.4 | Budget-conscious projects, rustic aesthetic |
Best for High Traffic and Accessibility — Large Square Concrete Pavers
If your path needs to accommodate a wheelbarrow, a wheelchair or walker, or simply heavier daily foot traffic than a casual garden stroll, large square or rectangular concrete pavers outperform rounded steppers significantly.
Their flat, continuous edges allow them to be set closer together or even touching, eliminating the gaps that can catch a foot, a wheel, or a walking-aid tip.
Square pavers are also the easiest format to work with when calculating exact path layouts, since their predictable dimensions make spacing math straightforward compared to irregular natural stone.
The look is more formal and modern than rustic stepping stones, which suits some garden styles better than others.
| Product | Price Range | Rating | Best For |
|---|---|---|---|
| Pavestone 16×16 Square Concrete Patio Stone Standard square concrete paver, light gray, textured surface. Rated for vehicle-adjacent and high-traffic foot installations. | $ | 4.5 | High-traffic paths, accessibility, formal layouts |
Best Eco-Friendly Option — Recycled Rubber Steppers
Recycled rubber stepping stones, made from reclaimed tire rubber, are a newer category worth knowing about.
They flex slightly rather than cracking, resist freeze-thaw damage almost entirely (since there’s no rigid material to crack), and provide exceptional slip resistance even when wet — better than either stone or concrete in most independent slip-resistance comparisons.
Recycled rubber stepping stones are lighter than stone or concrete, which makes them easy to place and reposition, but that same lightness means they can shift more in loose soil unless properly bedded.
They’re also one of the more expensive options per square foot relative to their visual impact, since the appeal is functional rather than decorative.
| Product | Price Range | Rating | Best For |
|---|---|---|---|
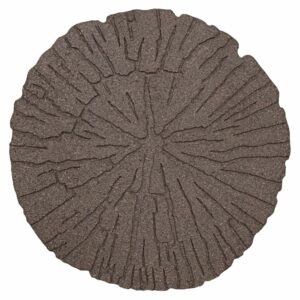
| Tierra Verde 4-Pack 18”x18” Fake Cracked Log Rubber Stepping Stones | $$ | 4.3 | Freeze-thaw climates, families with young children, slip safety priority |
Prices vary by region and retailer — check current listings before purchasing. Ratings reflect aggregated buyer feedback and general category reputation rather than a single retailer.
How to Choose the Right Size for Your Path
Size is the single most important decision in stepping stone selection, and it’s where most people get it wrong by buying whatever looks good in a display photo rather than thinking about actual foot placement.
A comfortable stepping stone path needs stones that match how people naturally walk, not stones chosen purely for aesthetic appeal.
| Stone Diameter | Comfort Level | Best Use |
|---|---|---|
| Under 12 inches | Requires careful, deliberate footing | Decorative accent paths, stepping-stone “trails” through planting beds |
| 14–16 inches | Comfortable for most adult strides | Standard garden walkways, casual-use paths |
| 18–24 inches | Very comfortable, accommodates uneven footing | Primary paths, high-traffic routes, paths used by children or older adults |
If you’re building a path that will see regular daily use — to a mailbox, a garage, a vegetable garden you visit often — err toward the larger end of this range. The extra cost per stone is small compared to the comfort and safety benefit of a stride-friendly surface.
Spacing Stepping Stones Correctly
Spacing is just as important as size, and the right spacing depends entirely on how the path will be used.
For a casual garden accent path that’s more about visual interest than efficient travel, a 2–3 inch gap between stones, set into mulch or low groundcover, looks natural and unhurried.
For a functional daily-use path, measure an average adult stride — typically 24–30 inches from the center of one foot placement to the next — and space the centers of your stones accordingly.
This produces a path that feels effortless to walk rather than one that forces an awkward, mismatched gait. Our guide to curved versus straight paths goes into more detail on how stride length should influence layout on curving routes specifically.
💡 Test your spacing before committing
Lay your stones out on the actual ground in their intended positions, then walk the path several times before setting anything permanently. It’s far easier to nudge a dry-laid stone a few inches than to dig up and reset one that’s already been bedded in sand or mortar.
Stepping Stones vs. a Continuous Path Surface
Before committing to stepping stones, it’s worth pausing on whether they’re actually the right format for your space, since a continuous gravel or flagstone surface (covered in our gravel vs flagstone comparison) solves a similar problem in a different way.
Stepping stones excel in informal garden settings where you want the path to feel like a series of discoverable moments rather than a defined corridor — they let lawn or groundcover grow right up to the edge of each stone, which a continuous hard surface doesn’t allow.
Where stepping stones fall short is in heavy daily use and accessibility. The gaps between stones, however carefully spaced, still require a degree of attention and confident footing that a continuous surface doesn’t.
If the path serves as a primary route to a door, a mailbox, or anywhere used daily regardless of weather, a continuous surface is generally the safer and lower-maintenance long-term choice.
Stepping stones shine as secondary paths — through a flower bed, across a side yard, connecting two seating areas — where the journey itself is part of the garden’s charm.
Maintaining Stepping Stones Over Time
Stepping stones need very little upkeep compared to a mortared or poured surface, but a few seasonal habits keep them looking and performing their best.
In spring, check each stone for any settling or tilting that occurred over winter — frost heave can shift even well-installed stones slightly, and catching this early prevents a small wobble from becoming a real trip hazard.
Algae and moss buildup is the most common stepping stone maintenance issue, especially on natural stone in shaded, damp areas of the garden.
A stiff brush and a diluted vinegar or oxygen bleach solution removes most buildup without damaging the stone surface — avoid pressure washing on natural stone, since it can erode the surface texture that provides slip resistance in the first place.
For grass or groundcover growing between widely spaced stones, regular trimming keeps the path looking intentional rather than overgrown.
Concrete steppers occasionally develop hairline surface cracks after several freeze-thaw cycles, particularly cheaper, thinner products. This is rarely structural and doesn’t usually require replacement, but it’s worth inspecting annually so a developing crack doesn’t progress to a point where the stone splits underfoot.
Rubber steppers require essentially no maintenance beyond an occasional rinse, which is part of their appeal for low-effort garden upkeep.
If you do notice a stone has cracked through completely rather than just hairlined, it’s safer to replace that single piece than to leave a broken stone in an active walking path.
Installing Stepping Stones — The Basics
Most stepping stones are set using one of two methods, and which one suits your project depends on how permanent and stable you want the path to be.
The simpler method works for casual paths; the more involved method suits paths that will see frequent or heavy use.
Method 1 — Set Directly Into Soil or Lawn
- Place the stone where you want it and trace around its edge with a trowel or spray paint.
- Remove sod and soil to a depth roughly matching the stone’s thickness, plus an extra ½ inch.
- Add a thin layer of sand to the excavated hole and tamp it level.
- Set the stone in place, check for level, and tap gently with a rubber mallet to settle it.
- The stone’s surface should sit flush with or very slightly above the surrounding grass — buried too deep, it gets overgrown; raised too high, it becomes a trip hazard and mower obstacle.
Method 2 — Set in a Gravel and Sand Base
- Excavate the full path width to about 4–5 inches deep, following the same approach as our flagstone path guide.
- Add 3 inches of compacted gravel, then 1 inch of leveling sand.
- Set each stepping stone into the sand layer, checking level and tapping into place.
- This method is more work but produces a far more stable, long-lasting result for high-traffic paths.
Budgeting for a Stepping Stone Path
Total project cost depends far more on path length and material choice than most people expect going in, since the per-stone price differences across categories compound quickly over a full path.
A 20-foot single-file path needing roughly 9–10 stones runs $40–70 in budget concrete steppers, $200–350 in natural bluestone, or $225–320 in recycled rubber — a meaningful spread for what’s visually a similar-looking finished path from a distance.
Labor is the other major variable if you’re not installing it yourself. Professional installation typically adds $8–15 per square foot on top of material costs, largely driven by excavation and base preparation time rather than the stone-setting itself.
Given how straightforward the DIY process is for a simple stepping stone path — especially using Method 1 above, which skips excavation entirely — this is one of the more approachable hardscaping projects to take on yourself even with limited experience, and the savings versus hiring it out are substantial.
One budgeting tip worth knowing: buying stepping stones individually from a garden center is almost always more expensive per piece than buying a bulk pallet from a stone yard or landscape supplier, even if you don’t need a full pallet’s worth.
If your project needs more than 15–20 stones, it’s worth calling a local stone yard to compare bulk pricing before defaulting to a big-box retailer.
Frequently Asked Questions
Are natural stone or concrete stepping stones better?
Natural stone offers superior long-term durability, a more authentic appearance, and better aging characteristics, but at a noticeably higher price. Quality cast concrete steppers with a textured finish close most of the performance gap at a fraction of the cost, making them the more practical choice for budget-conscious projects or larger paths requiring many stones.
How many stepping stones do I need for a 20-foot path?
Using an 18-inch stone with a standard 26–28 inch stride spacing (center to center), expect to need approximately 9–10 stones for a 20-foot single-file path. For a wider path using two parallel rows, double that count. Always buy one or two extra to account for breakage or placement adjustments during installation.
Do stepping stones need a special base, or can I just set them in dirt?
Setting stones directly into soil works for casual, low-traffic paths and is the fastest installation method. For paths with regular daily use, a gravel and sand base (Method 2 above) keeps stones from sinking unevenly or shifting after heavy rain, and is worth the extra effort for any path you’ll be using often.
Are stepping stones safe in icy or frosty climates?
Textured natural stone and rubber steppers perform best in freeze-thaw climates — rubber in particular resists ice buildup better than stone or concrete due to its slightly flexible surface.
Smooth or polished stone of any material becomes genuinely hazardous when frosted, so prioritize texture over polish if you live somewhere with regular winter freezes.
Can I mix different stepping stone materials or sizes in the same path?
Yes, and many of the most visually interesting garden paths do exactly this — mixing irregular natural stone sizes, or combining larger primary steppers with smaller accent stones along the edges.
The one consistency that matters more than material or size is surface height — keep the walking surface of every stone roughly level with its neighbors regardless of what each one is made from, so the path feels even underfoot even if it looks varied from above.
Can I make my own stepping stones instead of buying them?
Yes — DIY concrete stepping stones are a popular and genuinely cost-effective project, especially if you want a custom size, shape, or decorative inlay that’s hard to find ready-made.
See our guide to making DIY stepping stones at home for the full mold, mix, and curing process — it’s well within reach even without any prior concrete experience.
Will stepping stones damage my lawn mower if grass grows between them?
Only if a stone sits noticeably above or below the surrounding grass height. A mower blade can chip a stone that protrudes too high, or scalp the grass around a stone set too low where the deck can’t follow the contour.
Setting every stone flush with the surrounding lawn surface — the same principle covered in the installation steps above — avoids this entirely and is one of the main reasons getting that detail right matters beyond just appearance.
Related Articles in Our Garden Paths Guide:
Final Thoughts
We hope this guide has made shopping for stepping stones feel a lot less overwhelming — the right choice really comes down to matching the material to how your path will actually be used, not just to what looks best in a single photo.
For all our backyard and landscaping guides, our backyard design guide hub links to everything in this series.
Share this post with a fellow gardener who’s ready to start their own path project — and let us know in the comments which material you ended up choosing and why. Happy growing!
