Tacos, burritos, and other Mexican dishes will never be complete without the rich taste of tortillas. They are the soft flatbreads popular in the Latin American region made from several ingredients like corn, flour, and other specialty types of tortillas.
The softness of tortillas is one of the hallmarks of a delicious tortilla. If you are trying to make these flatbreads at home, you are probably wondering how you can preserve their tip-top quality.
In this post, we will share how to store homemade tortillas, so you can make them readily available at your arms reach.
How To Store Homemade Tortillas
To preserve the quality of your freshly-made tortillas, you have to keep them away from three things: sunlight, air, and moisture. Air can harden your tortillas, while sun and water can promote mold growth.
So, here are the three storage locations in your home where you can store your homemade tortillas:
#1 Freezer
Freeing tortillas is probably the best way to keep them for a very long time. If you want to save time cooking your meals every day, cooking your tortillas in batches is a great way to start. You have to make sure that you place parchment or baking paper between every tortilla to preserve its form.
Here are the following steps in storing your tortillas in the freezer:
- Let the newly-cooked tortillas cool down at room temperature.
- Stack them up using baking paper, aluminum foil, or cling wrap.
- Place the stack of tortillas in a ziplock bag or an airtight container. Keep the air out of the bag before you seal it.
- Place the ziplock in your freezer so you can get one whenever you need them. Just make sure to re-seal it after so the moisture won’t get through the bag.
The shelf-life of frozen tortillas can last from two weeks up to six months, depending on the extent of the temperature of your freezer. If your freezer has a lower temperature, then most likely, your tortillas can last for months.
The crucial step in freezing your tortillas is when you are about to reheat them from the freezer.
One of the common mistakes of some people is they immediately place the frozen tortilla in the microwave. While this is the most convenient and fast way to warm them up, you will only end up with a crispy or hard tortilla.
Here’s how to reheat tortillas from the freezer:
- Remove the tortilla ziplock bag from the freezer and let it defrost a bit in the refrigerator for a couple of hours.
- Once they become softer, it will be easier for you to get a few tortillas from the stack.
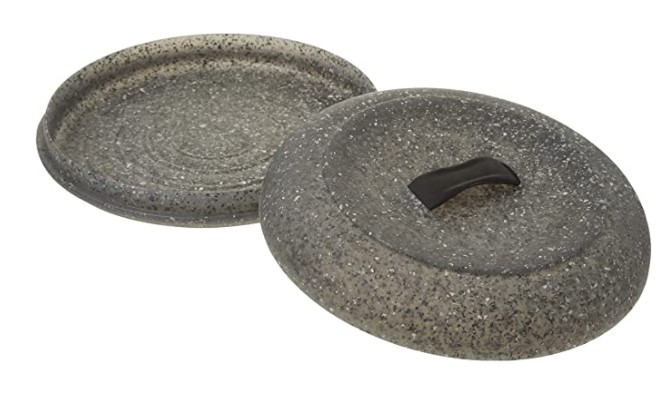
- Heat the tortillas in the oven for 10 to 20 seconds. You may use a tortilla warmer to preserve the heat as you start eating your homemade tortillas with your family. Voila! Your tortillas are now ready to be paired with some delicious guacamole and salsas.
To get the best flavor and texture from your frozen homemade tortillas, consume them for at least two months.
Leaving them in the freezer for more than two months makes your homemade tortillas still edible but not with its fresh taste.
#2 Room Temperature
Your homemade tortillas can stay fresh at room temperature for a few days to a maximum of a week if it is stored properly. Since tortillas are only made of simple ingredients, it is less likely to rot that easy.
However, if the tortillas have been mixed with other foods, they might start to spoil the next day.
So, before you decide to store your homemade tortillas for future use, check if it has been drenched in salsa sauce or other condiments.
If the tortillas are clean and untouched, put them in a dry airtight container or a ziplock bag. Store it in a location away from sunlight and water.
#3 Refrigerator
If you hate the idea of thawing your tortillas or leaving them in your pantry area, your refrigerator can be cool enough to slow down the spoilage.
If you feel that you have made tortillas that can last for a week or two, it is better to place them in the fridge to extend their shelf-life.
Since the refrigerator is less cold than a freezer, your tortillas may tend to stick together.
So, place parchment paper as you stack the tortillas and place it in an airtight ziplock bag or container. They can last for a week or two in your fridge as long as they don’t get wet or exposed to air.
How To Know If Homemade Tortillas Are No Longer Safe To Eat
Store-bought tortillas usually come with an expiry date at the back of their packaging. Since you made your tortillas, you are probably wondering about their expiration date. The tell-tale signs that your tortillas are no longer good or safe to eat are when:
- They became too stiff to eat
- Molds are starting to take over
- The texture is mushy and smells weird
In most cases, the rapid temperature changes can condensate the air inside the tortilla pack or container and cause moisture.
Due to the presence of moisture in the packaging, mold will likely get into your tortillas or possibly cause them to spoil.
Trying Out New Types of Tortillas
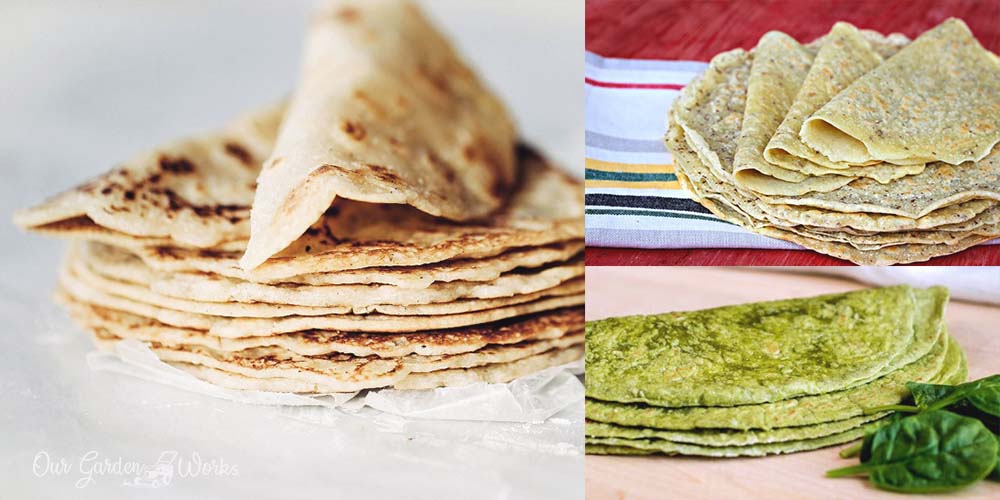
Now that you know how to store your homemade tortillas, it’s about time for you to learn different types of tortillas.
Since tortillas are widespread around the globe, there are already a ton of versions that you can try at home. Let’s start!
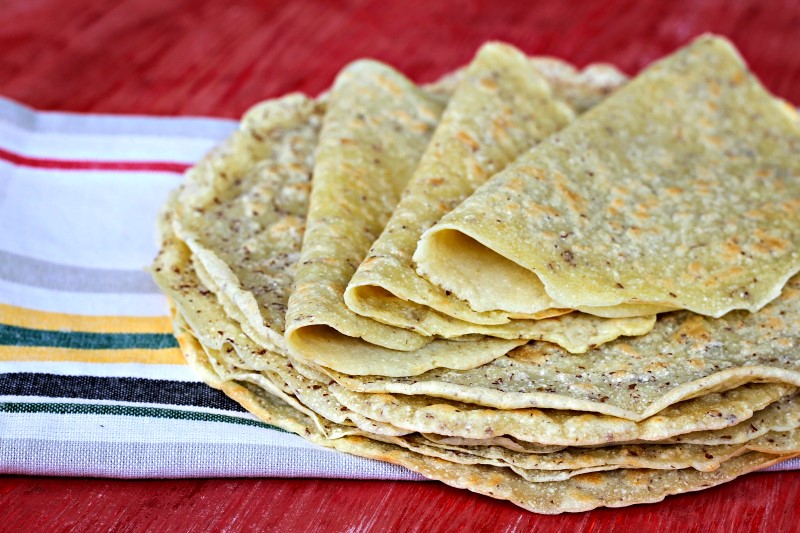
#1 Corn Tortillas
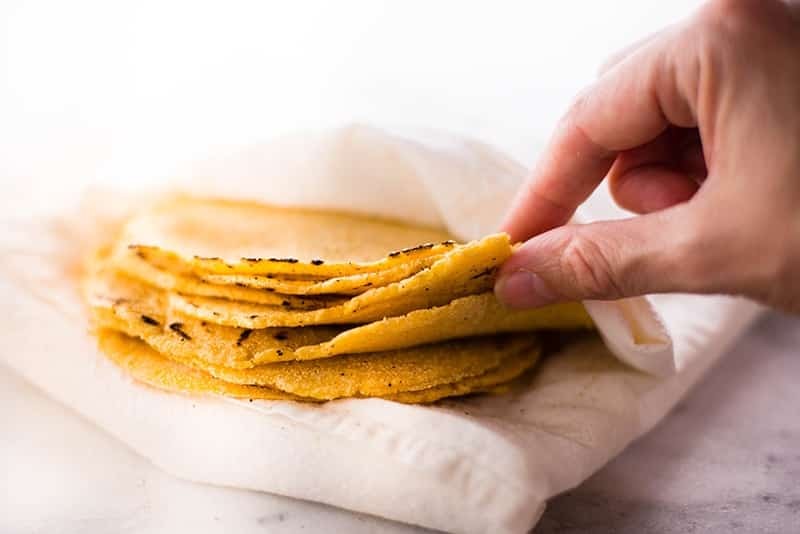
Corn tortillas are one of the famous tortillas in Mexican cuisine. Here’s how can make one at home:
Ingredients:
- 2 cups of masa harina or cornflour
- 1/2 tsp salt
- 2 cups of hot water
Directions:
- Mix the dry ingredients such as masa harina and salt.
- Add the hot water in slow increments. Doing so will allow you to mix the dough better.
- Cut a golf-size dough and roll it with your hands.
- Cut a piece of cling wrap and place it underneath and over the dough. It will prevent the dough from sticking to your rolling pin or anything that you will use to flatten it.
- Flatten the dough and separate them by using wax paper or cling wrap as you pile them up.
Cooking corn tortillas
- Put your stove in medium heat and place your skillet.
- Put the tortilla and leave it for a minute until you see some brown spots. Flip it on the other side to cook it thoroughly.
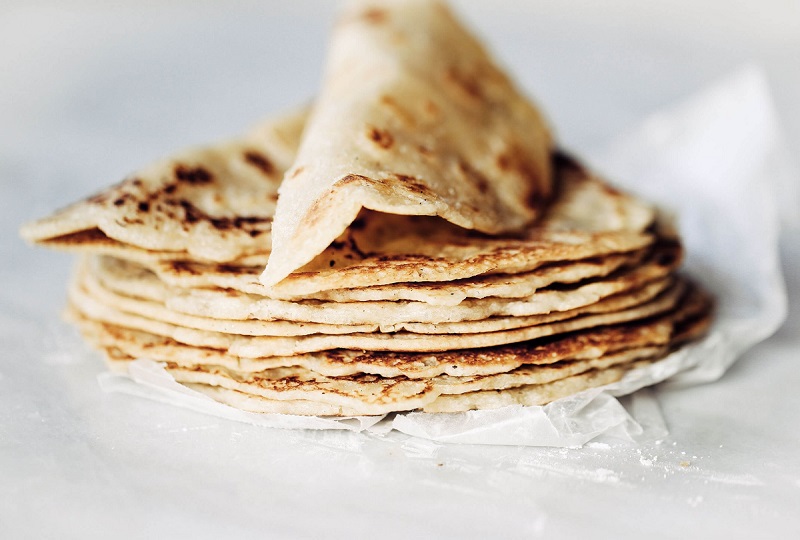
#2 Flour Tortillas Using Olive Oil
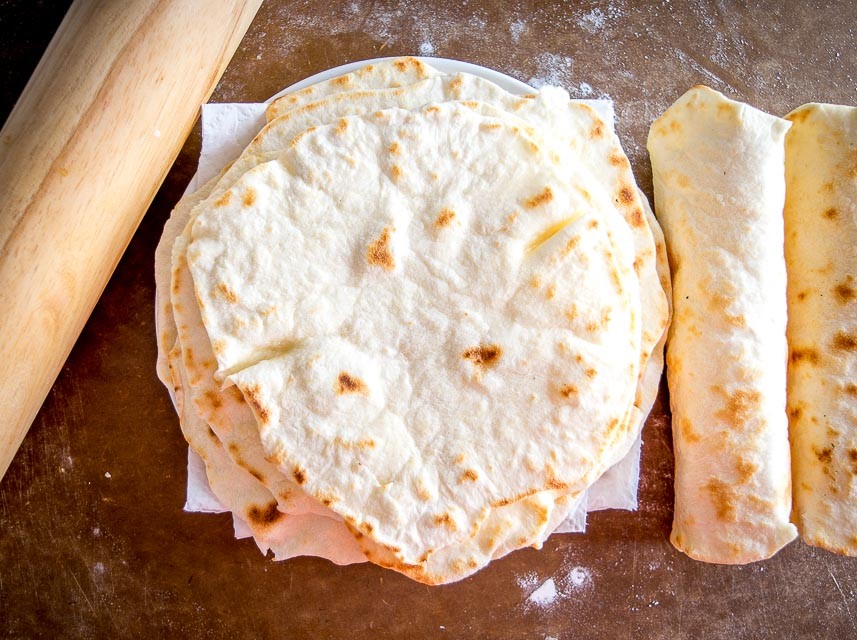
Lard is part of the ingredients of the traditional flour tortillas. However, you can give it a new twist by using olive oil if you run out of lard in your kitchen.
Here’s how:
Ingredients:
- 3 cups flour
- 1/4 cup olive oil
- 1 1/2 tsp salt
- 1 cup hot water
Directions:
- In a bowl, mix the flour and salt.
- Add the olive oil and slowly add the water.
- Mix the dough until it becomes more elastic. Knead it for 5 minutes using a mixer or your hands.
- Place the balls in a bowl and cover them with cheesecloth. Leave it for 30 minutes to an hour to rise.
- Roll the dough into balls to make your tortillas.
- Cover the balls in cling wrap before flattening them. The cling wrap will prevent them from sticking on surfaces.
Pro tip: You can use baking powder to make your tortillas fluffier.
Cook your tortillas the same way you cook your corn tortillas. One of the best indications that you got the temperature right is when the tortilla starts to rise after 45 seconds.
#3 Homemade Spinach Tortilla
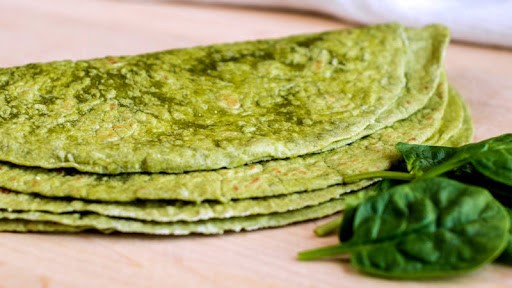
If you want a healthier version of tortillas, you can add some vegetables to it like spinach. Do this with the following directions:
Ingredients:
- 1 cup of spinach
- 3 cups flour
- 1/4 cup olive oil
- 1 1/2 tsp salt
- 1 cup hot water
- 1 1/2 tsp baking powder
Directions:
- Sauté the spinach in a pan and place them in a blender.
- Mix the oil and salt to turn it into a puree.
- In a separate bowl, mix the dry ingredients, such as flour and baking powder.
- Once done, add the water to the dry ingredients as well as the pureed spinach.
- Mix it well until the dough forms.
- Knead the dough for 5 minutes and cut it into smaller pieces to form balls.
- Place the balls in a pan with a baking sheet or wax paper and cover it with a cheesecloth or clean kitchen towel. Leave it for 20 minutes to rise.
- Check the size of the balls if it is too big for your tortillas. Then, cut it into smaller pieces and roll them into balls.
- Cover the balls with cling wrap before flattening them with a rolling pin. Keep the cling wrap to separate all the tortillas from each other.
- Cook your tortillas in a hot skillet for a minute or two or until the surfaces turn brown.
#4 Keto Tortillas With Almond Flour
If you love tortillas but want to lose weight at the same time, keto-approved tortillas are a good way to let your desires meet halfway.
Here’s how you can make your homemade low-carb tortilla:
Ingredients:
- 2 cups almond flour
- 1 cup coconut flour
- 1 1/2 tsp Psyllium husk powder
- 1/2 tsp baking powder
- 1 cup hot water
- 1/4 cup olive oil
- 1 1/2 tsp salt
Directions:
- Mix all almond flour, coconut flour, baking powder, and salt in a bowl.
- Add the olive oil and slowly add the hot water until it forms into a dough.
- Knead the dough until it is soft and smooth.
- Cut the dough into smaller pieces and roll them into balls.
- Cover each ball with a cling wrap and flatten them to form your tortillas.
- Cook the tortillas in a hot skillet pan for a minute or until you see some brown spots.
#5 Coconut Wraps/Tortilla
Another healthy alternative to your flour tortillas is coconut wraps. They are simpler to make with only two to four ingredients:
Ingredients:
- 1 tsp psyllium husk powder or three teaspoons of whole psyllium husk
- 1 1/2 tsp salt
- 1 cup hot water
Directions:
- Mix the flour and the psyllium husk powder in a bowl.
- Slowly add the water and mix them well. At first, the mixture may look loose. Leave it for 15 seconds, and you’ll see it form into a dough.
- Form the dough into a ball and divide it into pieces.
- Roll the smaller pieces of dough into balls.
- Cover each ball with a cling wrap and flatten them with a rolling pin.
- Stack them up in a tortilla for proper storage.
- Cook your tortillas in a hot skillet for a minute or two until you see brown spots.
Frequently Asked Questions
Can I make tortillas without a press?
Yes. You can either use a rolling pin or a pot with a flat surface. You can be resourceful in using other items to flatten your tortillas. Don’t let the lack of tortilla press stop you from making them at home.
Do tortillas need baking powder?
Tortillas don’t necessarily need baking powder. Baking powder can make them fluffier and softer that makes them closer to pita bread or flatbread.
What is the best tortilla for weight loss?
The best tortillas for weight loss are coconut and almond tortillas. They use low-carb alternatives to flour, such as almond flour and coconut flour. Plus, they are also healthier and packed with nutrients.
Final Thoughts
Remember that learning how to store your homemade tortillas greatly affects their longevity and taste. Remember to keep them away from sunlight or moisture at all costs, or else you’ll end up with a moldy batch of tortillas.
We hope that this post helped you how you can store excess or your homemade tortillas.
For more growing guides across every vegetable you’re likely to grow this season, our vegetable gardening guide is always a good place to start.
Let us know in the comments about your experiences in making your tortillas at home! Who knows, you might also discover a new tortilla recipe along the way!
I dont think you put all thw ingredients for the coconut tortillas? Thanks!