Since the cold seasons are about to come, it’s only natural to keep your equipment handy.
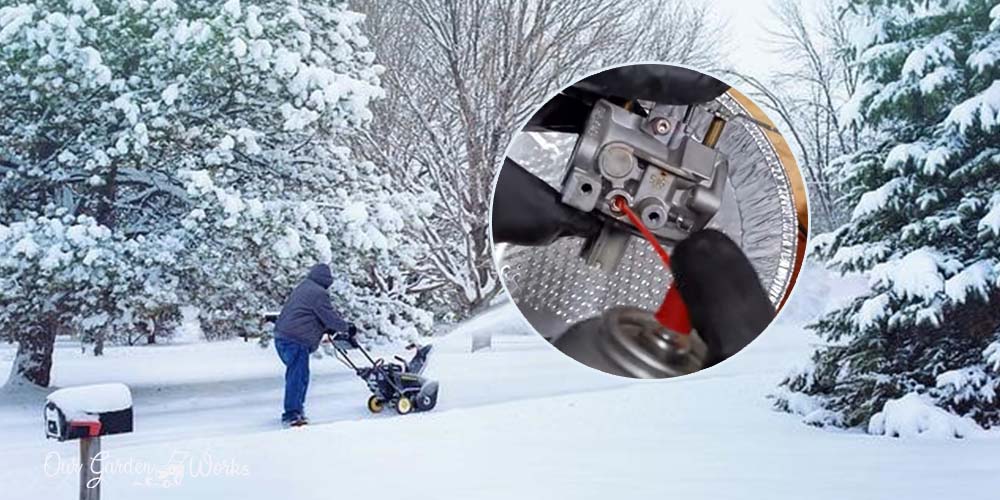
If you’re testing your long-stored snowblower, it’s best to start cleaning the carburetor first and its other parts for maintenance. Gas-powered machines require frequent maintenance for safe use and to prolong their lifespan.
In this post, we will share some tips on cleaning a snowblower carburetor for beginners.
We will also share how a dirty carburetor can cause issues with your snowblower. Let’s start preparing your tools for snow because the winter is coming.
What is a Carburetor?
Carburetor is a device in any gas-powered engine or machine that mixes air and fuel. It helps regulate the adequate proportions of air and fuel for the efficient use of machines like snow blowers and vehicles.
Valves are connected to the carburetor to control the speed of your snowblower and also help it start when the engine is cold.
How Does It Work?
Carburetor is also connected to two spinning valves where the speed of the machines is controlled. When the throttle valve is open. More air is released to the carburetor which leads to the increased speed of the engine.
On the other hand, when the choke valve is open, the carburetor will only receive fuel and the venturi will suck it out to help heat up a cold engine.
Parts of a Snowblower Carburetor
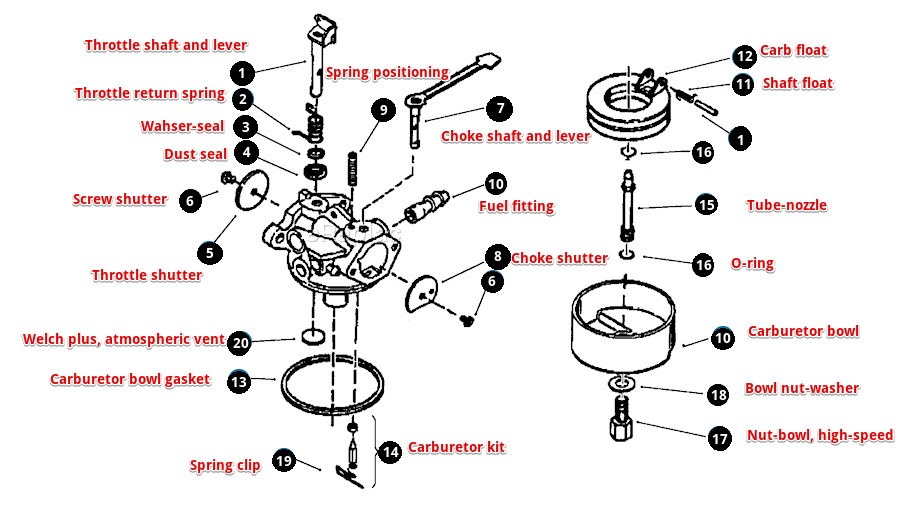
To clean the carburetor and remove the piled-up debris, it’s essential to know the parts of the carburetor.
You don’t have to memorize each part. You only need to know where the parts go so you can put them back after cleaning.
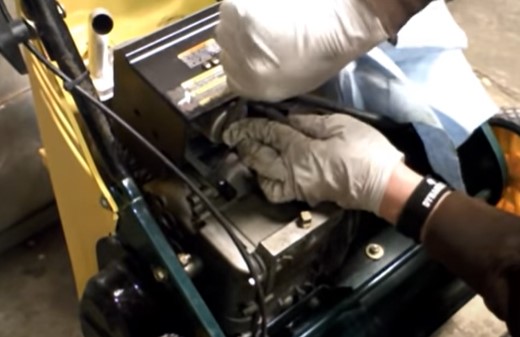
To reach the carburetor, you must unscrew the cover of your snowblower and detach it from the engine.
- Throttle shaft & lever
- Throttle return spring
- Washer-seal, dust
- Dust seal
- Throttle shutter
- Screw-shutter
- Choke shaft & lever
- Choke shutter
- Spring-positioning, choke
- Fuel fitting/Carburetor bowl
- Shaft, float
- Carb float
- Carburetor bowl gasket
- Carburetor kit
- Tube-nozzle / emulsion tube
- O-ring
- Nut-bowl/ jet
- Bowl nut washer
- Spring clip
- Welch plug, atmospheric vent
Note: Every brand of snowblower may have a different design. The image is a general representation of a snowblower carburetor for informational purposes only.
4 Signs That Your Carburetor Needs Cleaning
Machines provide hints when they need some cleaning. In some cases, homeowners misunderstand these behaviors as damage but in reality, the carburetor of the snowblower only needs some cleaning.
Here are some of the signs that your carburetor is dirty and needs some spring cleaning:
- Black smoke: Black smoke from the exhaust is a sign the engine is receiving too much fuel and little air. It is an indication the carburetor is dirty and some debris is stuck in the air ducts or pushes the choke shutter wide open.
- The fuel is consumed too fast: If you notice that your fuel gets depleted easily compared to the first time you used it, it’s a good sign that it needs cleaning. There must be some debris that got stuck in the carburetor that prevented the proper distribution of air and fuel.
- Engine not starting or difficulty in starting: If the engine is not starting there must be something that blocks the airflow or fuel to get to the carburetor.
- Slow engine: If the speed of the snowblower is getting slower and slower, the carburetor is probably receiving more air than fuel due to debris buildup.
Tips in Cleaning Snowblower Carburetor
There are two ways to clean a snowblower carburetor. You can either use a carburetor oil or spray it inside the carburetor. It will instantly remove the debris.
On the other hand, you may also do deep cleaning by removing the parts of the carburetor and remove the rust and heavy buildup of carburetor deposits.
Alcohol from ethanol usually attracts moisture which gets piled up at the bottom of the bowl. The gas evaporates but the moisture remains at the bottom and clogs up the carburetor.
So cleaning the carburetor is something that you should do at least every year.
Here’s how you can try each method:
Cleaning a Carburetor Without Removing The Parts
Materials:
- Copper wire from old electrical wires
- Old toothbrush
- Carburetor cleaner spray
- Wrench
Directions:
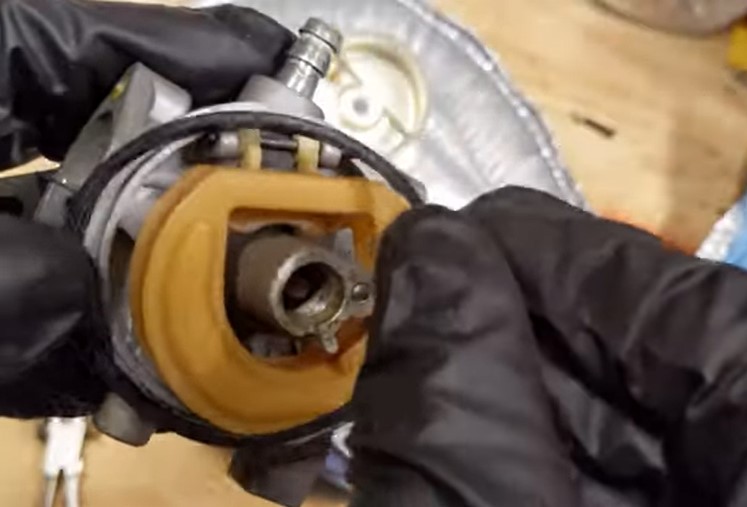
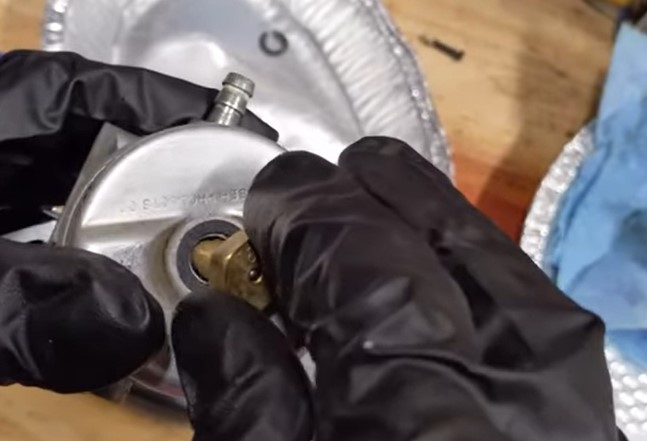
(1) Unscrew the nut bolt or jet at the bottom of the carburetor bowl. Detach the nut and the bowl to clean them.
(2) Remove the water from the bowl and spray it with the carburetor cleaner spray.
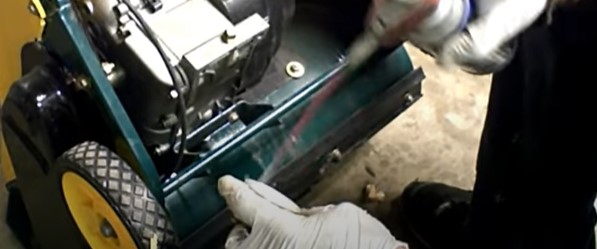
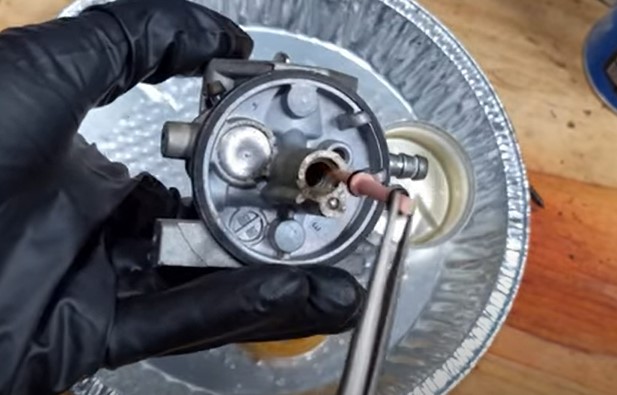
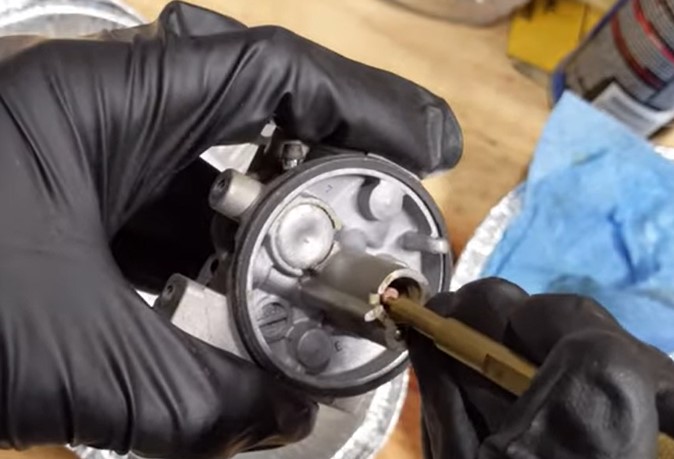
(3) Clean the jet or nut bolt by placing the tip of the funnel of the cleaner spray in the holes to remove deep-seated debris.
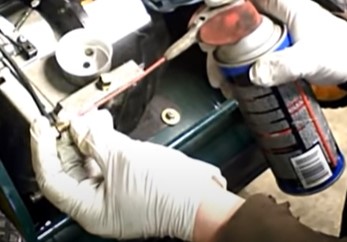
(4) Use a copper wire to remove the clog in the tiny holes in the jet. It has about three tiny holes that you should clean to make sure there’s no debris that clogs it up.

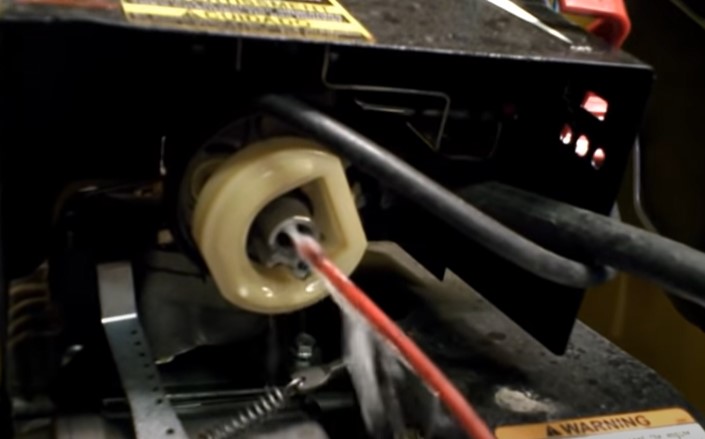
(5) Clean the float area and the internal parts of the carburetor using the cleaner. Let the cleaner get in.
(6) Once done, keep the gasket of the carburetor bowl in place and place the bowl back in. Use the pipe wrench to put back the jet.
(7) Test the snowblower and see if it starts immediately. If there’s no improvement, you may need to do a deep clean and remove the carburetor from the snowblower.
Cleaning by Disassembling The Carburetor
Materials:
- Tray
- Screwdriver
- Wrench
- Old wire
- Carburetor cleaner
- Long-nose driver
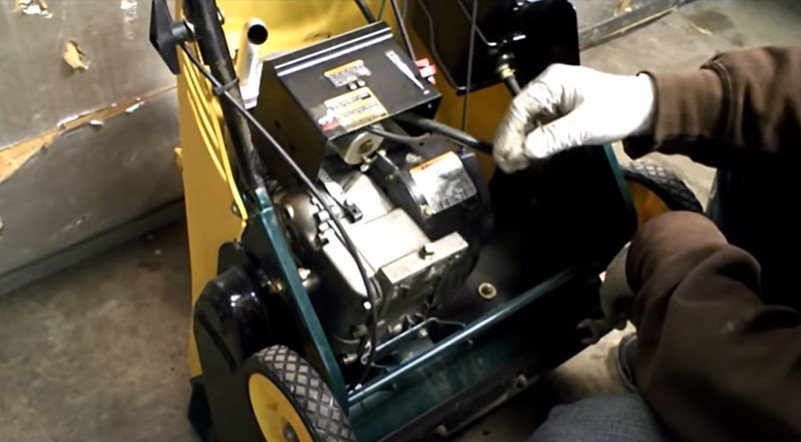
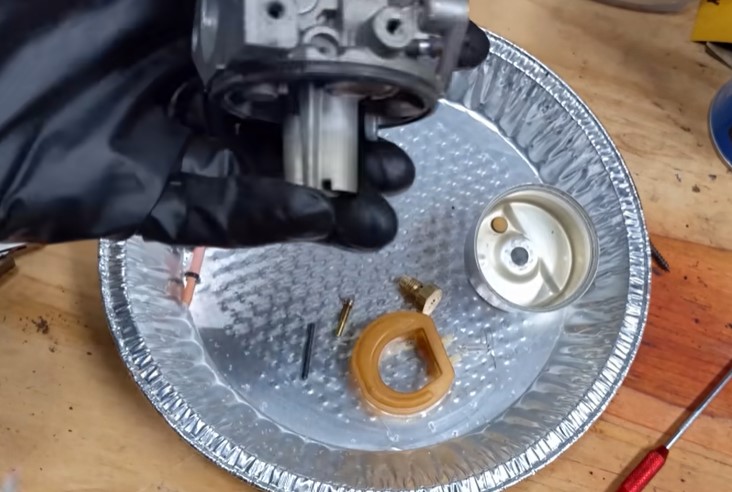
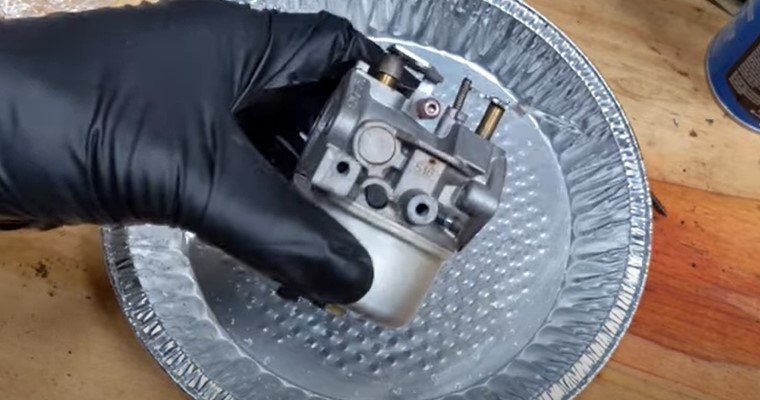
(1) Remove the carburetor from the snowblower. Disassembly of the carburetor is really unnecessary if there’s only a little debris or your snowblower immediately starts after a quick clean (method mentioned above). If all else fails, it’s best to remove it and clean all the parts of the carburetor separately.
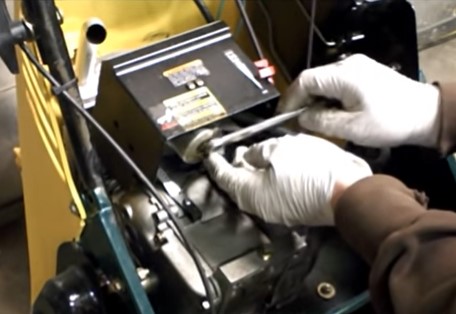
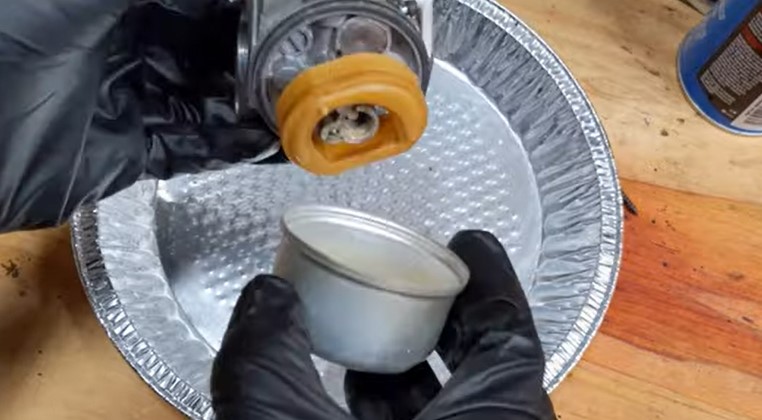
(2) Disassemble the carburetor by removing the jet and the carburetor bowl. Use a wrench to loosen the jet and remove it.
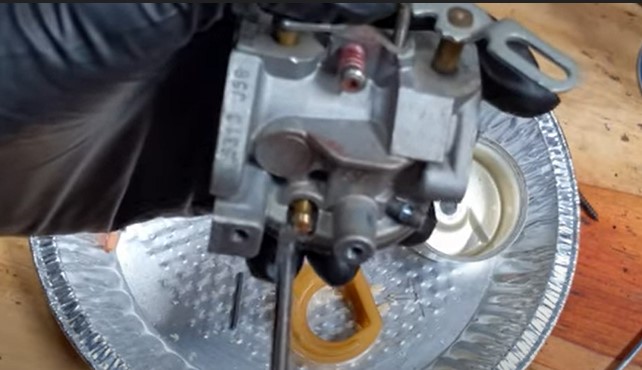
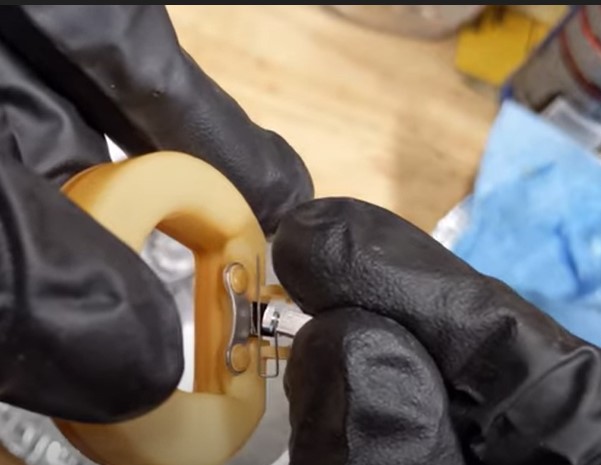
(3) Remove the float by loosening the pin that holds it. Use a small pin to push the pin out sideways. There will be a pin and needle that come with it when you pull it out.
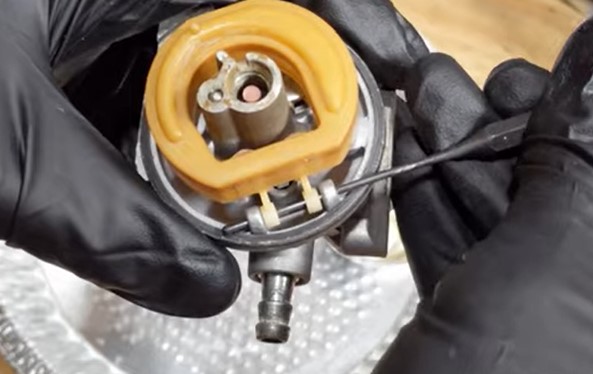
(4) Once the float is removed, the maid disassembly is completed. For thorough cleaning, you may want to clean the emulsion area by removing the tube-nozzle or emulsion tube. You may push it on top to let it slide down in the emulsion tube and pick it up with a long-nose driver.
If the upper part of the nozzle-tube gets stuck at the top, use a small stick to poke it out.
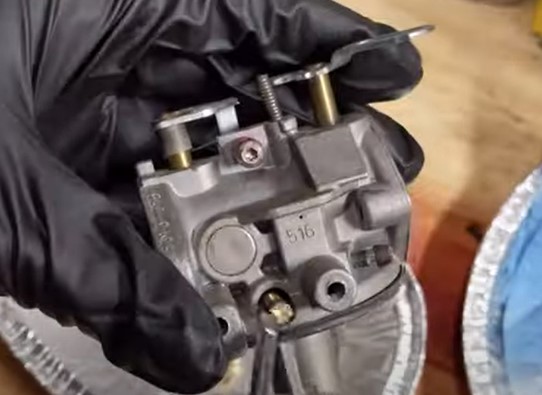
(5) Remove the idle air restrictor screw to remove any debris. Usually, it is covered with a cap, so remove it using a screwdriver. Loosen the screw and remove it from the whole body of the carburetor.
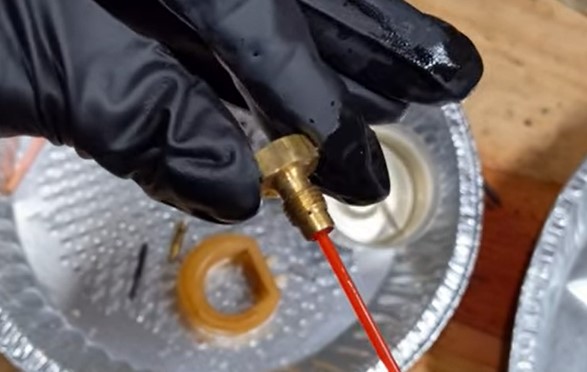
(6) Start cleaning parts by removing the debris and carburetor deposits. Start with the jet, tube-nozzle, and idle air constrictor screw by dislodging the debris on the three tiny holes. Use the wire to poke the dirt out and use the carburetor spray as a final touch.
(7) Make sure that there are no fuel deposits left on every part of the carburetor. Spay the float with the cleaner and wipe it out with tissue paper along with the other parts.
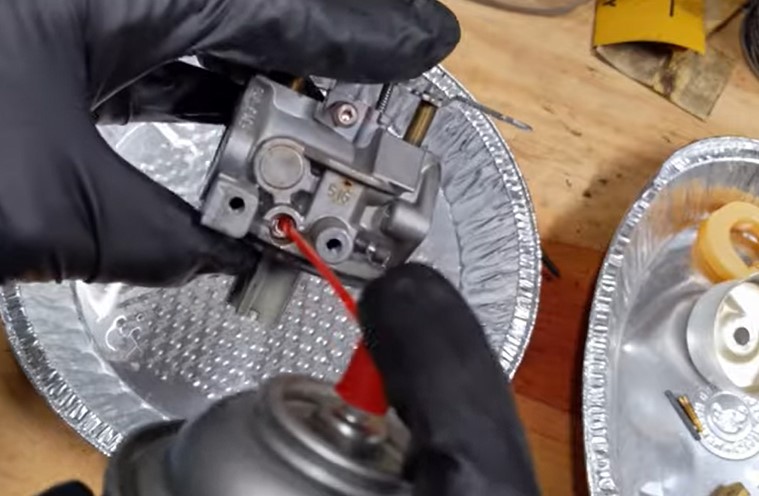
You will also do the same with the main carburetor body by spraying the cleaner to all the openings and removing stuck particles.
(8) Wipe the parts clean with a tissue paper or clean cloth and assemble it back. To start off, put back the emulsion tube.
If you have spare o-rings, it’s best to replace the old ones. There are usually some spare o-rings that you can find in carburetor kits that come with the snowblower. If you’ve got no spare o-rings, you may use the old ones.
(9) Place the air restrictor cap and screw it back on. Use the screwdriver and screw it into the carburetor body.
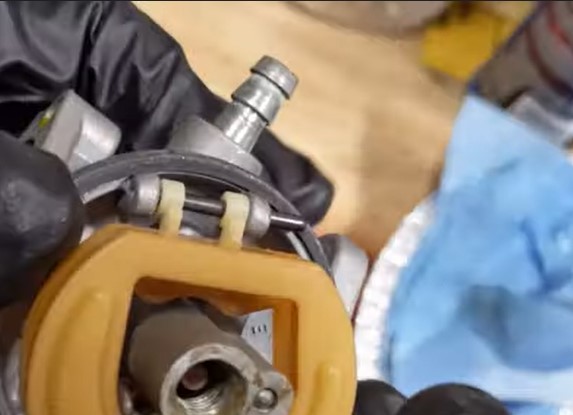
(10) Place the float back on but you must first attach the pin and needle to it. To reattach the pin you can simply slide the pin to the metal attachment in the float. The pointed end of the pin should be facing the intake part of the carburetor to prevent the float from getting stuck.
(11) Put the pin back in that holds the float in place to the carburetor body. You simply push it sideways.
(12) Once the float is attached, it should be level and not placed too high or too low, forming a diagonal pattern. If it’s not level there will be a problem with the air and fuel mix when you turn on the snowblower or it won’t even start at all. Once the float is level, place the carburetor bowl gasket.
(13) To finish things off, put the carburetor bowl back in place. Place it on top of the gasket and use the jet or nut to attach it to the main carburetor.
(14) Lastly. Test the carburetor if it is working properly. You can do this by turning the carburetor in its upright position and blowing through the fuel inlet.
You should be able to blow air in it. Then, place the carburetor upside down. You should not be able to blow air because the needle should be tightly fitted in the carburetor seat.
It’s now ready to be placed back to the snowblower.
Carburetor Cleaners, Tools, & Parts That You May Need To Replace
If you’re doing the deep clean and notice that some of the parts are already broken, here are some replacements to help you get your snowblower back in shape.
Carburetor Cleaners
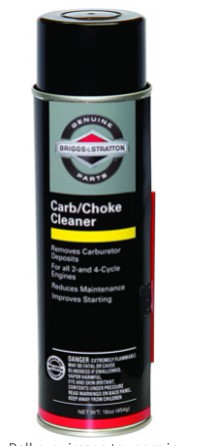
First on our list is the spray cleaner that will remove all the fuel deposits and sticky residues on your carburetors.
Here are some of the best ones that you can choose from:
- Briggs & Stratton Carburetor or Choke Cleaner
- Berryman Products B-12 Chemtool Carburetor, Fuel System and Injector Cleaner
- Gumout Carb and Choke Cleaner
Wire Needles
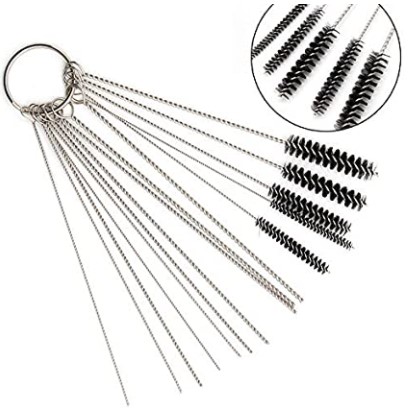
In cleaning a snowblower carburetor or other gas-powered machines, you will be cleaning very tiny holes.
So, instead of looking for wires to use in poking the small holes in screws, you can use a wire needle. It comes with a threaded end to break down and dislodge fuel deposits deeply-seated inside the holes.
One of the most affordable ones is the Acarte Carburetor Carbon Dirt Jet Cleaner Tool Kit. It has 10 cleaning needles and 5 brushes designed for cleaning jets and other small parts.
Needle Seat
The needle seat usually takes on the pressure from the needle when the carburetor is on.
So, it is usually one of the parts that usually get damaged over time. Replace it every time you do a deep cleaning with your carburetor.
Replacing the O-rings, gaskets, and needle seat ensures that there will be no spills and leaks in your snowblower carburetor.
Final Thoughts
We hope that this post helped you clean your snowblower carburetor. So, the next time it fails to start or produces black smoke, you’ll know how to get it fixed.
It may look intimidating to get in there and unscrew some parts. However, as long as you follow instructions and assemble it properly, you won’t have any problem.
We hope that this post has been informative and helpful to you. In the upcoming winter season, we hope that your snowblower is ready to take on some pile of snow and keep it out of the way.
Let us know in the comments how you managed to clean your snowblower carburetor!
For more design ideas, project guides, and planting inspiration, our backyard design guide links to every outdoor project and design article we’ve published.